RSS Feed

Tag Archives: retro grill

Shepherd Ball-B-Q, Pride of Canada! (Model 300)

Shephard Ball-B-Q

I have seen this style BBQ before, but never in person. We were at the Alameda Antiques Faire and on the way out we saw this BBQ gleaming in the mid day sun. The classic design embodied modernism, and demonstrated how design was delivering new kinds of lifestyles into the Canadian experience. One of the first barbeques with an integrated cover, the Ball-B-Q combines a domed top which rolls over a double stack of racks and a rounded pan joined to a single curved pedestal. The shape of the ball somewhat resembles the castors that are the main product of its manufacturer, Shepard Products. The spun aluminum top emphasizes its use and contrasts with the intense red of the pedestal. A black wood sphere acts as a handle and allows easy and safe opening of the hood. The Ball-B-Q was the recipient of both Design Canada and Association of Professional Industrial Designers Ontario awards.”

IMG_7682

Mel and I shot over to investigate it. We knew it was too cool to leave behind, so we nabbed it!

IMG_7683

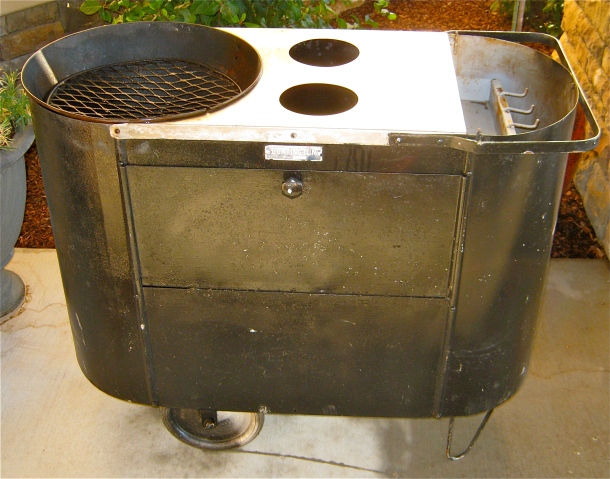
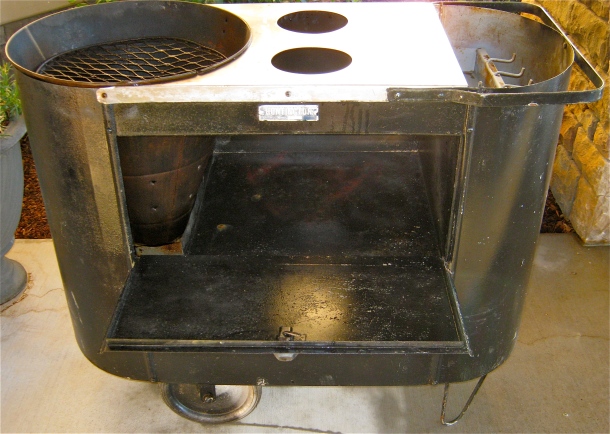
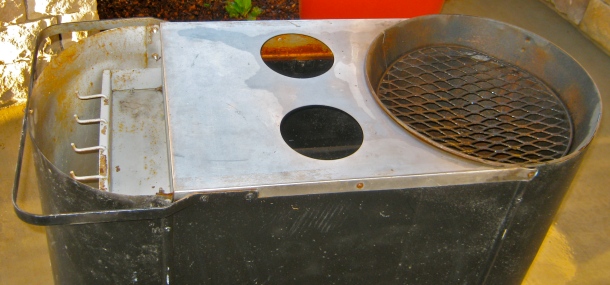
This is in overall good condition, but it needs a little cleaning up. It appears to have never been used.

IMG_7685

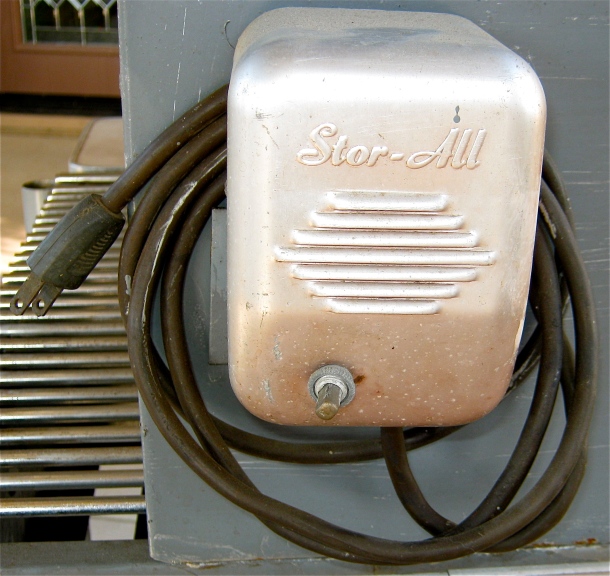
I am trying to locate the original paperwork for this BBQ. When I purchase something, I like to make sure I make it as complete as posssible.

IMG_7687

This grill has such a thoughtful design. I have to really hand it to the designer.

IMG_7697

IMG_7698

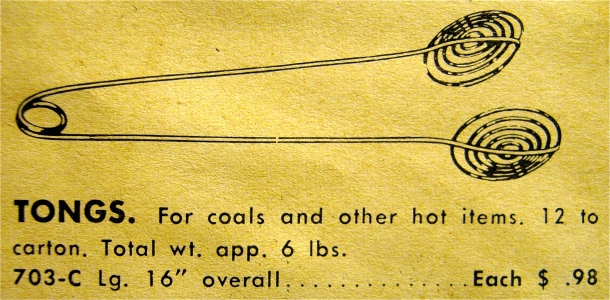
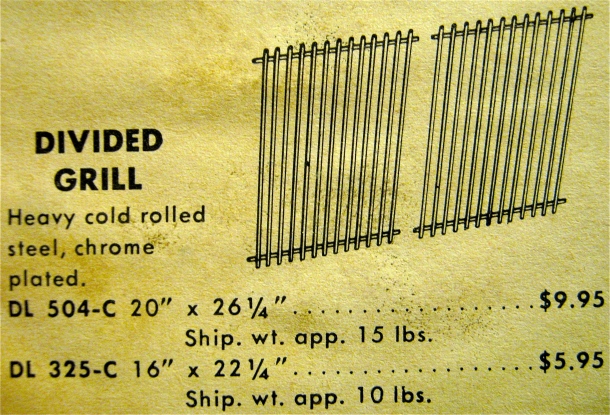
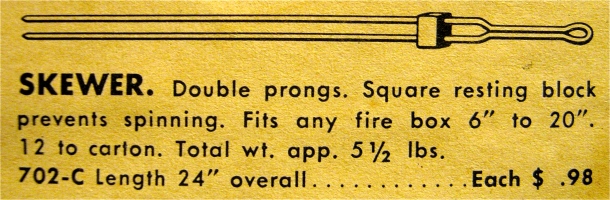
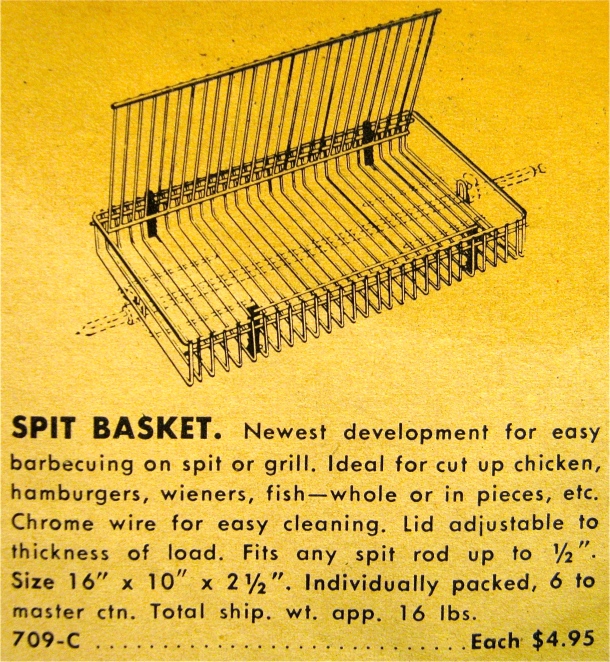
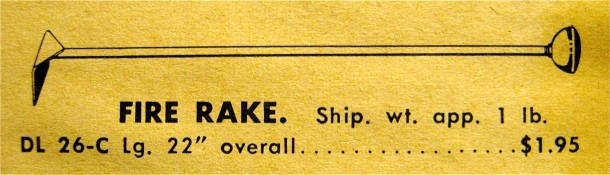
Look at all the variations! So many options!

IMG_7699

Here is the patent paperwork submitted in 1968. Such a cool design!

$_57-1

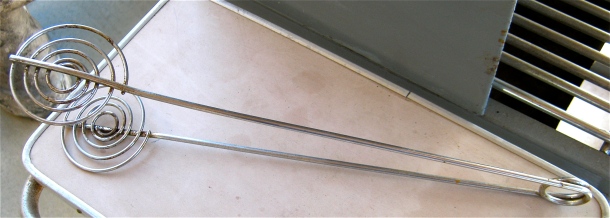
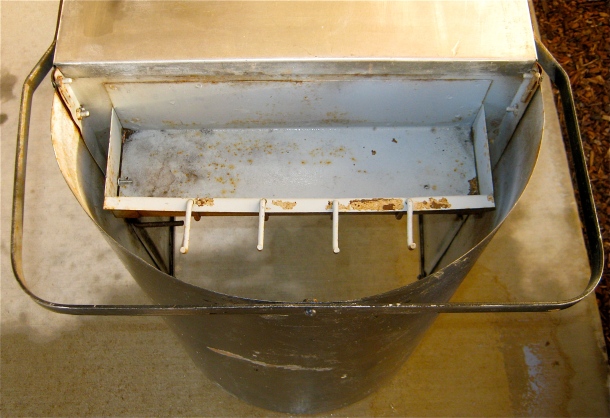
We found this matching tray on eBay and are anxiously awaiting its arrival. This will make a nice set!

1950’s Big Boy Barbecue Restoration

BBBBQ


Mel and I picked up this Big Boy BBQ back in March of 2014. I knew it was time to drag it out of mothballs and get it ready for the grilling season.

img_3241

I wanted a smaller BBQ than our GE Partio Cart for when I feel like just grilling something quickly.

IMG_6980

The first step was to disassemble the BBQ.

This BBQ appeared to have been painted with a paint brush. Unfortunately, who ever painted did not do a very good job.

IMG_6990

As you can see this grill had lots of surface rust and peeling paint.

IMG_6994

No time like the moment! I jumped right in and started sanding. I noticed a lot of surface rust under the old paint.

IMG_6992

On areas where the paint was difficult to get to I used a scraper.

IMG_6996

After hours and hours of sanding and scraping it was ready to be painted.

IMG_7009

I am proud to present our newly restored 1950’s Big Boy Barbeque!

IMG_7014

I tried to add accents of red to offset all the silver paint.

IMG_7021

The rims were originally silver but I think the red makes them pop!

IMG_7010

This is where the coals go. This tray was incredibly rusted but after lots of sanding it looks like new.

IMG_7018

To adjust the heat of this grill you raise and lower the coals by moving this red handle up the graduated adjuster.

IMG_7007

With the help of my step-father Dave, we were able to cut out new side tables and apply new Formica to them so they are like new.

$_57-5

I had to order a new rotisserie motor for the grill. The one that came with it is toast. I was fortunate that I found an original NOS Big Boy BBQ rotisserie motor on eBay!

IMG_7017

Now that it is all done, I can rest my arthritic hands. I can see the benefits of a sand blaster!

IMG_7005

I am very pleased with it’s restoration.

IMG_7002

Now I have a reason to break out all of our vintage BBQ utensils!

Another 1950’s BBQ (Big Boy BBQ)

BBQ2

Mel and I were cruising Craigslist when I decided to search for vintage BBQ’s and SHAZAM!  We came across a 1950’s Big Boy BBQ.  This one is similar to the 1963 Royal Chef I recently restored.

IMG_3327

The above picture is from the catalog and shows the particulars including the original price of $79.95.

IMG_3241

I emailed the owner and had the pleasure to meet a gentleman by the name of Shaun.  He has a passion for things from this era just like Mel and I.

IMG_3246

As you can see above, the compartment above the grill opens up and can be used as a warming tray.

IMG_3245

That red knob in the picture above is to adjust the level of the briquettes which in return adjusts the heat.

IMG_3248

This is the rotisserie and appears to be in good shape.  I’ll clean it up, oil it and with some luck it will run like new.

IMG_3257

This grill had many of the original accessories including these way out tongs.

IMG_3328

This BBQ also came with a lot of other accessories that are listed in the Big Boy BBQ book.  Here is what else came with this awesome grill:

IMG_3331

IMG_3330

IMG_3332

IMG_3329

Here are the two books that came with this grill:

IMG_3334

I plan to keep the grill original and paint it silver with red accents.  This should be a fairly easy resto and I hope to start on it soon.

Mid Century BBQ/Grill: Huntington Model 7

IMG_6323

Great picture of the grill courtesy of our friend Ed who is a fellow vintage BBQ enthusiast.

IMG_2765

The great thing about what we do is that we get the chance to meet a lot of great people. Mel and I met a really nice couple named Steve (decorated Vietnam Navy veteran) and Sharon (fellow antique dealer) when we recently purchased some antique rifles. While we were there, Steve showed me around his property and we came upon this barn find.

IMG_2775

Mel loves that this grill has hairpin legs.  It is such a cool little unit!

IMG_2773

IMG_2769

I am going to have to disassemble the whole unit, strip, and paint all the surfaces.  I haven’t decided what color to paint it yet.  Per my post about the Royal Chef grill that I restored, there aren’t may color choices for high temperature paint.

IMG_2771

I assume this is a storage area.

IMG_2767

This area of the BBQ is meant to house grill utensils such as the tongs, spatula, fork etc..  It also has a tray for matches and other items.

IMG_2776

I need to find a lid for the grill portion on the right.  The two holes in the middle are meant to hold bowls for sauces.  I am planning on crafting a removable semi-circle cutting board on the left side.

IMG_6324

Our friend Ed has the same grill, but he also has this owners manual.

IMG_6325

This one is very similar to ours except it is set up for a rotisserie and has a condiment tray on the back of the unit.

Royal Chef Restoration

Royal Chef BBQ

Royal Chef BBQ Before

Here is our Royal Chef as we purchased it.  As you can see, there is a lot of surface rust and dirt.

Royal Chef BBQ Before

The first thing I did was break the whole grill down so I could start the painting process.

Paint for Royal Chef BBQ

Unfortunately, there are not many color choices when it comes to high temperature BBQ paint.  I was able to find a gun steel blue high temperature spray paint online.  I also wanted to buy high temperature primer as well.

Royal Chef BBQ with Primer

Here is the main body of the grill in primer.

Royal Chef BBQ

After the primer had dried, I painted it.  I do like the color.  It may be hard to tell, but there is a metal flake in the paint.

Royal Chef BBQ After

After a lot of sanding and cleaning, I managed to get the whole grill repainted.  I reassembled it and here it is!

Royal Chef BBQ After

I painted the inside of the grill with black grill paint.  I also refinished the rotisserie and got it working again!

Royal Chef BBQ After

I am soo glad the paint isn’t in a flat finish, more like something between eggshell and semigloss.

Royal Chef BBQ After

I am very happy with the coverage of this paint.  This lower tray had a lot of surface rust.  The paint and primer makes it look like new.

Royal Chef BBQ After

I think I will take this over to my upholstery guy Bill from B&T Upholstery to make a cover for it.  I will have him sew the two letters “R C” Royal Chef on the cover.  Now that this is done, onto the next thing!