This past year was about turning the page. If you’ve followed our blog, you’re aware that we recently moved. This was a MAJOR move for us. What some of you may not know is that we had a house in Sacramento and an apartment in San Jose that Mel lived in during the week for work. This move included moving out of both homes, moving out of Midway, selling a house, and buying a house. All of this happened in less than 4 months. For our year in review, we’d like to focus on key events related to our move and cover some of the fun stuff we were able to squeeze in.
Sold 1959 Ranch
People would often say to us that they would hate to be us if we ever moved. Mel and I have been collectors our whole marriage (13 years this coming Feb) and we’ve amassed quite a collection of vintage home decor. To be honest, we probably would have moved sooner if the idea of moving wasn’t so daunting. We began packing in mid-July, and the house hit the market on August 20, 2017. The house went pending a week later on the first day of our open house. We accepted a contingency offer over asking, and the house closed on October 3, 2017.
Here are a few shots before and after we packed the rooms up.

Tiki Room: Before & after packing.

Living Room: Before & after packing.

Master Bedroom: Before & after packing.
 Closed our Showroom
Once we started packing, the next thing we did was begin liquidating our inventory in our showroom at Midway Antique Mall. We became dealers at Midway in August of 2013. Coincidentally, we closed our showroom almost exactly 4 years later this past August, 2017. Here are some photos of how our showroom evolved over the years.
Moved out of San Jose Pad
In our San Jose pad, we were able to decorate outside our usual atomic fifties style. This was a fun change. Luckily, we were able to keep a lot of this collection. We’re creating a music listening room in one of the bedrooms in our new house, and we’re decorating with a lot of these pieces. Below are some photos of our pad before we moved out.
Photo Shoots
We squeezed in a few photo shoots before we started moving. Our house in Sacramento was decorated in fifties atomic and tiki, while our San Jose apartment was decorated in a more space age, mod style. Below are some photos from shoots that occurred at both locations.
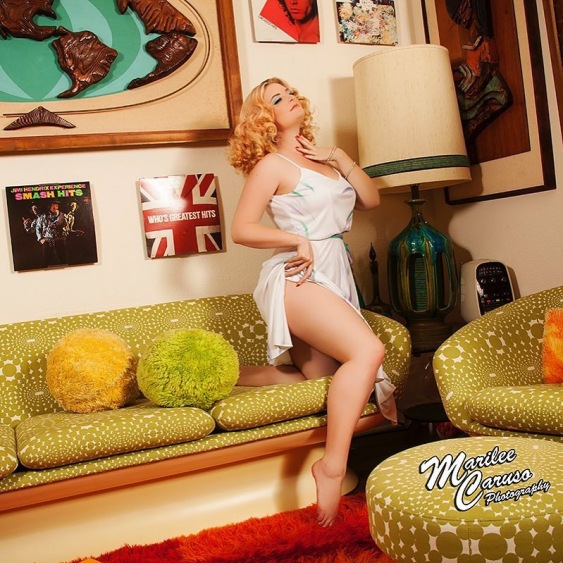
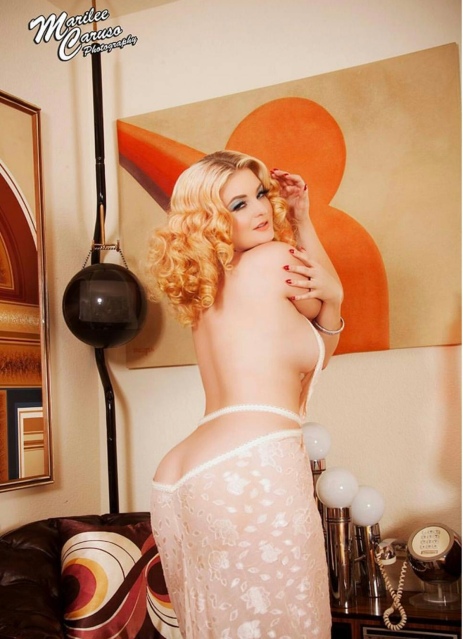
Location: Sacramento Atomic Fifties Ranch

Photographer & MUAH: Marilee Caruso, Model: Julieta Martinez

Photographer & MUAH: Marilee Caruso, Model: Roxy Ruckus

Photographer & MUAH: Marilee Caruso, Model: Donna McDougal

Photographer: Feathered Flash Photography MUAH: Heather Elizabeth Camacho Model: Sharon Eileen

Photographer: Feathered Flash Photography MUAH: Heather Elizabeth Camacho Model: Sharon Eileen

Photographer: Feathered Flash Photography MUAH: Heather Elizabeth Camacho Model: Sharon Eileen

Publication: Pinup Kulture Magazine, Photographer: Feathered Flash Photography, MUAH: Heather Elizabeth Camacho, Model: Sadie LaSalle
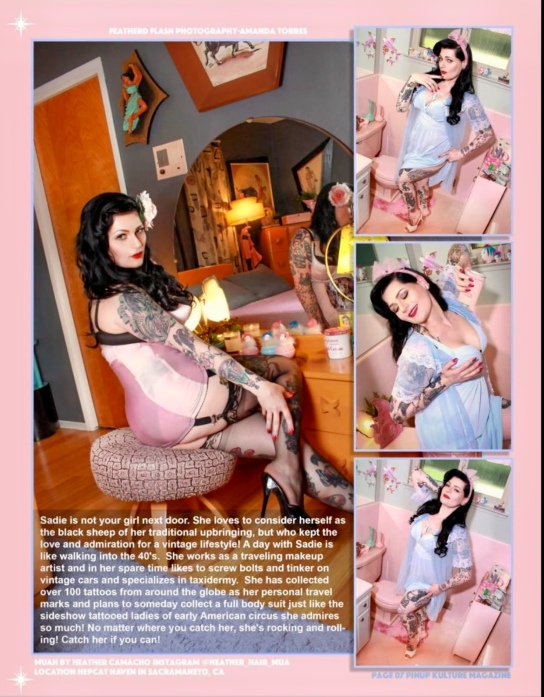
Publication: Pinup Kulture Magazine, Photographer: Feathered Flash Photography, MUAH: Heather Elizabeth Camacho, Model: Sadie LaSalle
Location: San Jose Mod Pad
Photographer & MUAH: Marilee Caruso, Model: Bo Vixxen
Photographer & MUAH: Marilee Caruso, Model: Bo Vixxen

Photographer & MUAH: Marilee Caruso, Model: Tecia Marsh

Photographer & MUAH: Marilee Caruso, Model: Tecia Marsh

Photographer & MUAH: Marilee Caruso, Model: Tecia Marsh
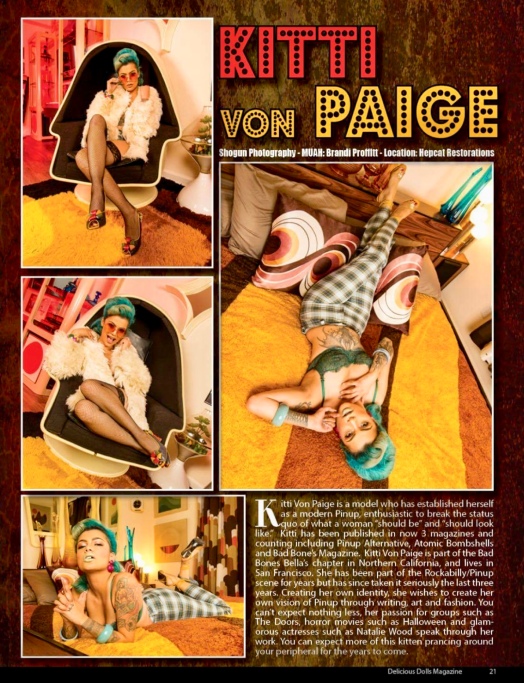
Publication: Delicious Dolls Magazine, Photographer: Shogun Photography, MUAH: Brandi Proffitt, Model: Kitti Von Paige
Collection
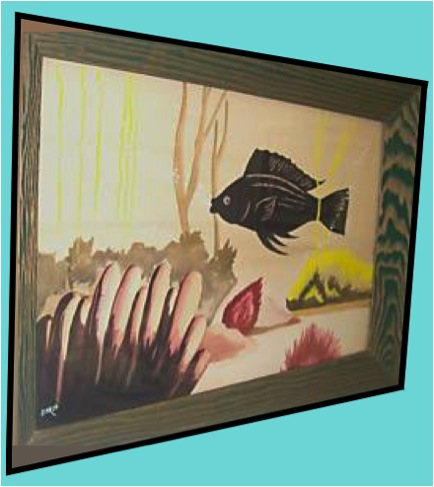
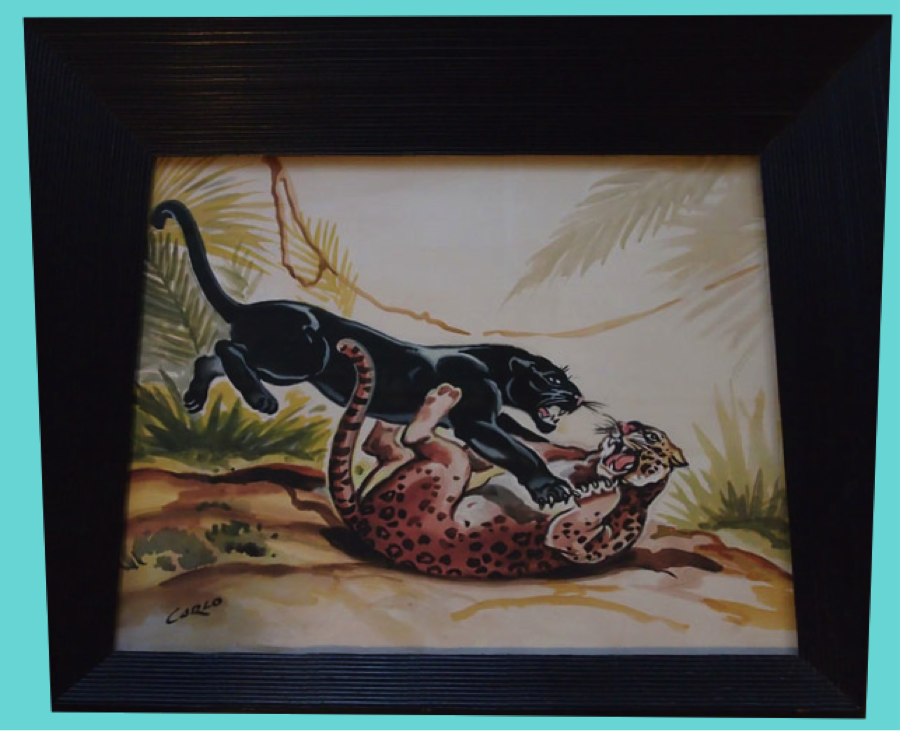
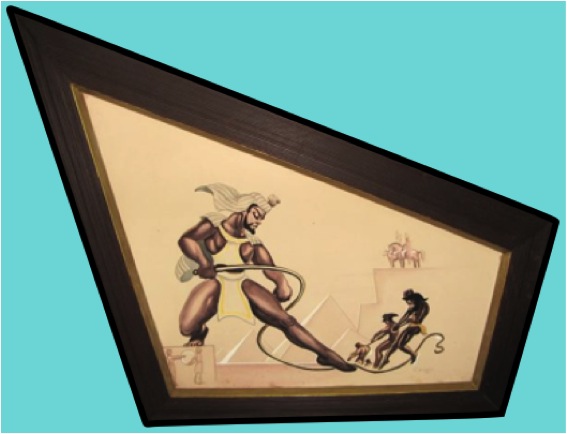
Even with all the chaos and stress of moving, we had some time to add to our collection and knock out a few restorations.
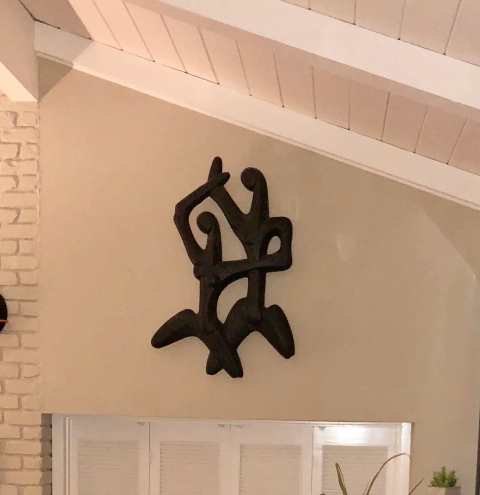
We added one final piece today to our collection for 2017. Thanks to Christina and Chris Lindquist for thinking of us when they decided to re-home this amazing Frederic Weinberg piece.
Name Change
When we started our blog about 6 years ago, our focus was on sharing our mid-century home decor collection and restoration techniques. Over the years, we’ve evolved and become more diverse in our collection and we decided to no longer offer restoration services to the public (we’ll still blog about pieces we restore for our collection). Because of this, Hepcat Restorations no longer represented who we were. So, we rebranded ourselves as Hepcats Haven.
Hepcats Haven Designs
I’ve always thought of myself as an artistic person. As a kid, I used to spend endless hours drawing. I decided to embark on a new adventure and try my hand at graphic design. My portfolio isn’t very large yet, but I plan to build this up. You’ll find a variety of designs in my collection including fifties atomic, tiki, seasonal, Panton era, etc..
Currently, I’m using the Redbubble and Spoonflower platforms to showcase my collection. You’ll be able to buy the images I design and have them printed on clothing, books, and home decor such pillows, bedding & clocks. You can purchase my designs on fabric, wallpaper, and gift wrap via Spoonflower. Click on the links below to check out my designs.
Here are some examples:

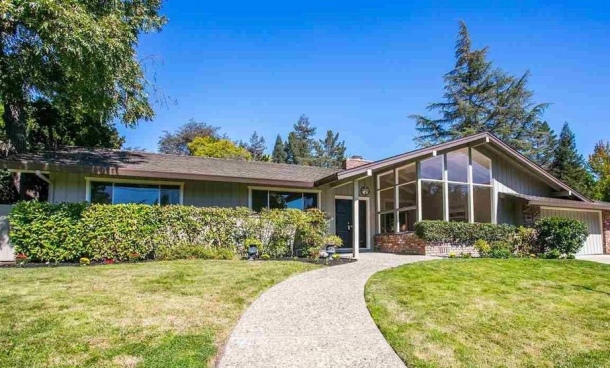
Our New 1961 Ranch
Special thanks to James Safonov Realty and Brad L’Engle of Guild Mortgage. James actually sold our house in Sacramento and helped us with buying our new home. He drove from Sacramento all the way to the Bay Area every time we had homes we wanted to check out.
We found our new Hepcats Haven in early November. This is what we’re starting with. We’re putting our touches on it, and will show you some after photos once we get our landscaping more dialed in.
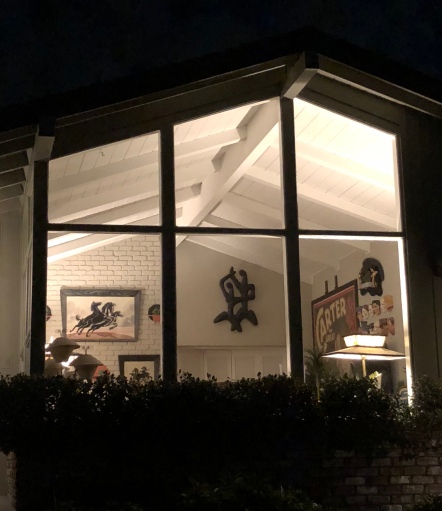
What’s Next?
We’re focusing on getting our new house in order. Getting unpacked and our collection up has actually been more difficult than the move itself. As we get rooms in order, we’ll be sure to share our journey with you. Here’s a sneak peek…
We wish a happy New Year to everyone!
")


 These were being sold by a gentleman down in Fresno who had a warehouse full of stuff. He said that he buys a lot of items from estate sales.
 My plans are to light sand these and then repaint them. These will be great as additional seating in our backyard.
 Each section has five chairs. They’re mounted on really sturdy and heavy metal frames. It would take quite an effort to tip one of these over.