RSS Feed

Tag Archives: Ebay

More Vintage Tiki Frames Made Cool!!!

IMG_4978

What better art to put in a Tiki room than a Tiki Mask and cool shrunken heads!

Mel & I had a couple of cool tiki frames lying around that had no art work in them. I decided that since I still have a lot of wall space to fill I would knock out some quick Tiki art to put up. These frames have a bamboo piece on the top and bottom that holds the glass and art in place. Here is a picture of the back of the frames…

Very simply made

Very simply made

I like to sketch the image out with pencil first and then outline in watercolor.

Sketch it out first and then outline it with watercolor.

Its coming along...

Its coming along…

After a couple of days work here is what came of it.

IMG_4979

I am very pleased with the results!

IMG_4980

This one was cool, I loved painting the wood grain on this piece.

These will be a great addition to our Tiki room and will and some cool imagery.

Heywood Wakefield Revival

IMG_4731

This group of sad-looking Heywood Wakefield pieces are a part of my next series of projects. If you study the photos above you will see that these have been used and abused.

IMG_4741

Look at these two sad sorry end tables. The guy we bought them from proudly advised us he painted one of them blue and he went further to tell Mel and I he had planned to paint the other one red! AAARRRGGGHHHH! An intervention was required.

The first piece I took on was the coffee table model M905G produced for only one year during 1955.

IMG_4736

Gosh! Had the previous owner ever heard of a coaster!

As I have mentioned before the great thing about Heywood Wakefield is that it is SOLID wood. If a piece has any issue usually you can sand out most of the imperfections.

IMG_4739

Here it is sanded down and ready for stain. This will help get rid of all the water rings and will even out the finish.

Now that it has been sanded the next step is applying that famous stain that I get from Jeff off Ebay!

IMG_4746

Here it is after its first coat of stain. I applied 4 to 5 coats to get that nice buttery finish.

After a lot of staining and buffing between coats it is finally finished. I even had a piece of 1/4 inch glass cut from a local glass store ($30) for the top so another water ring never has a chance to appear. Without further delay…

IMG_4976

As usual Jeff’s finish always turns out great!

Before I had glass cut for this piece I was under the impression that getting glass cut for furniture was costly. But it really isn’t, and it is worth it. It only takes one careless placement of a glass with condensation to mess up your finish so spend a little and preserve what you worked so hard to restore.

IMG_4980


Refreshing Carlo of Hollywood!

IMG_4829

IMG_4831Hello all!

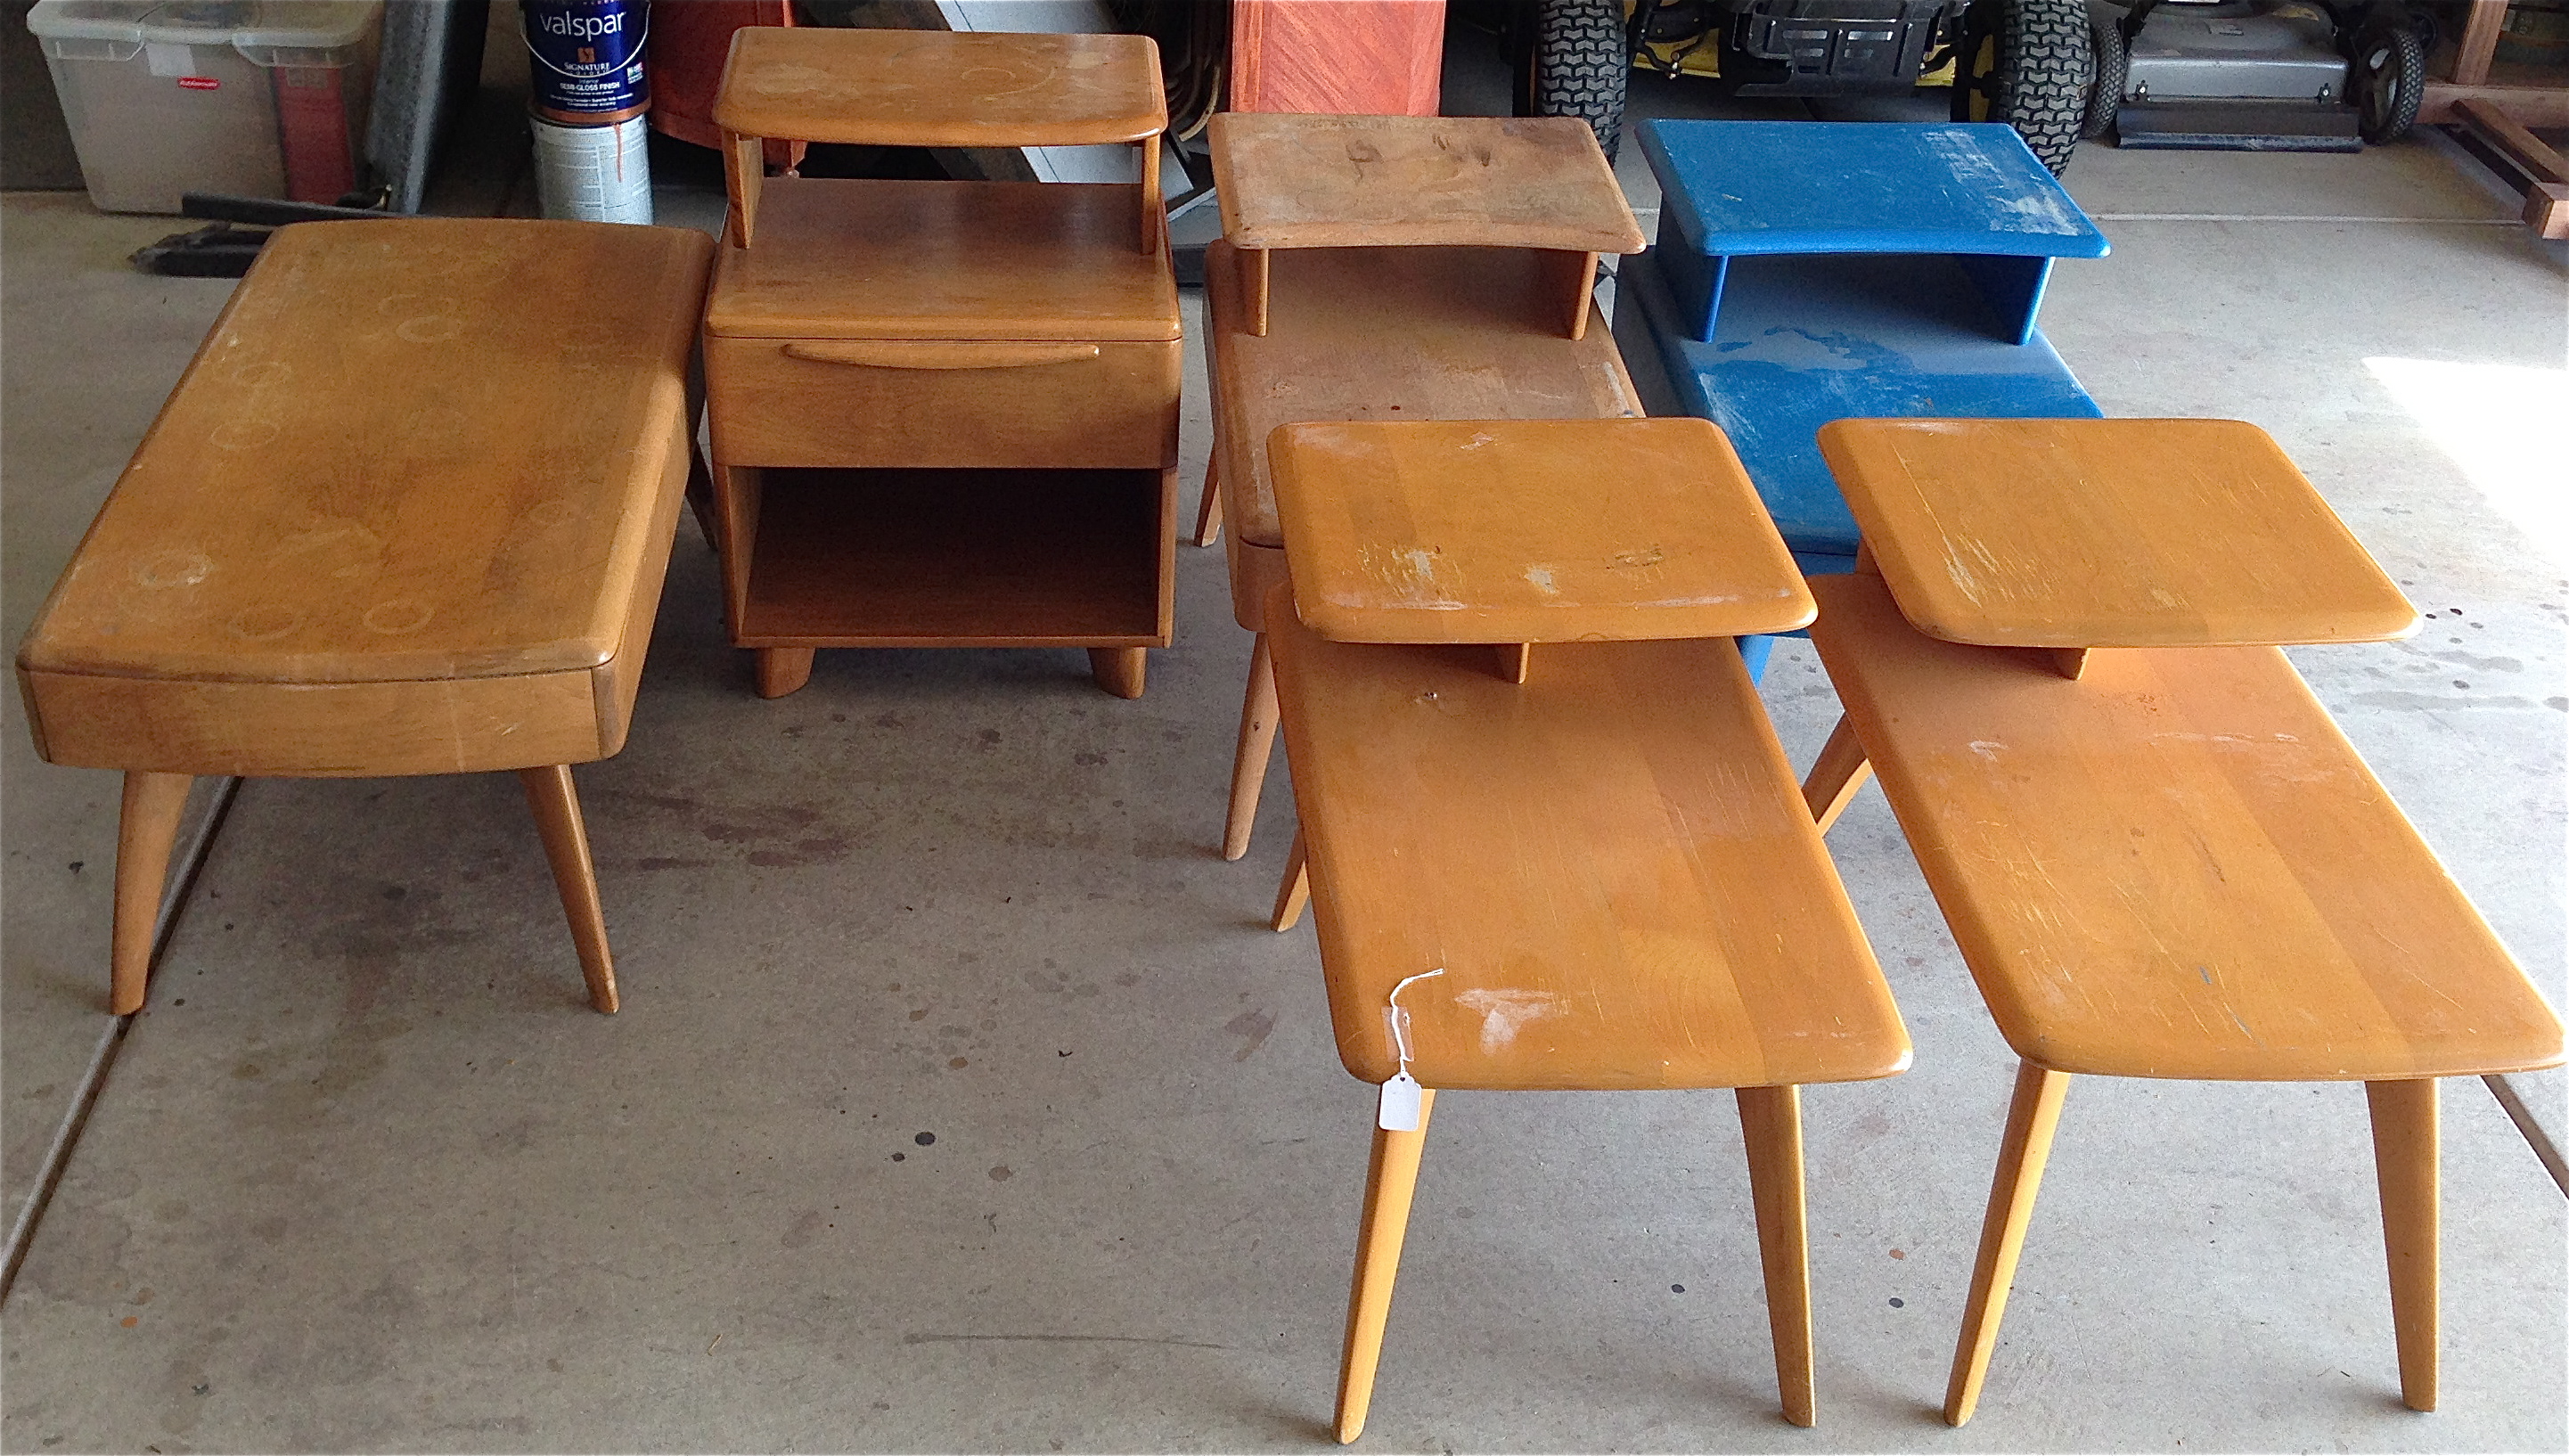
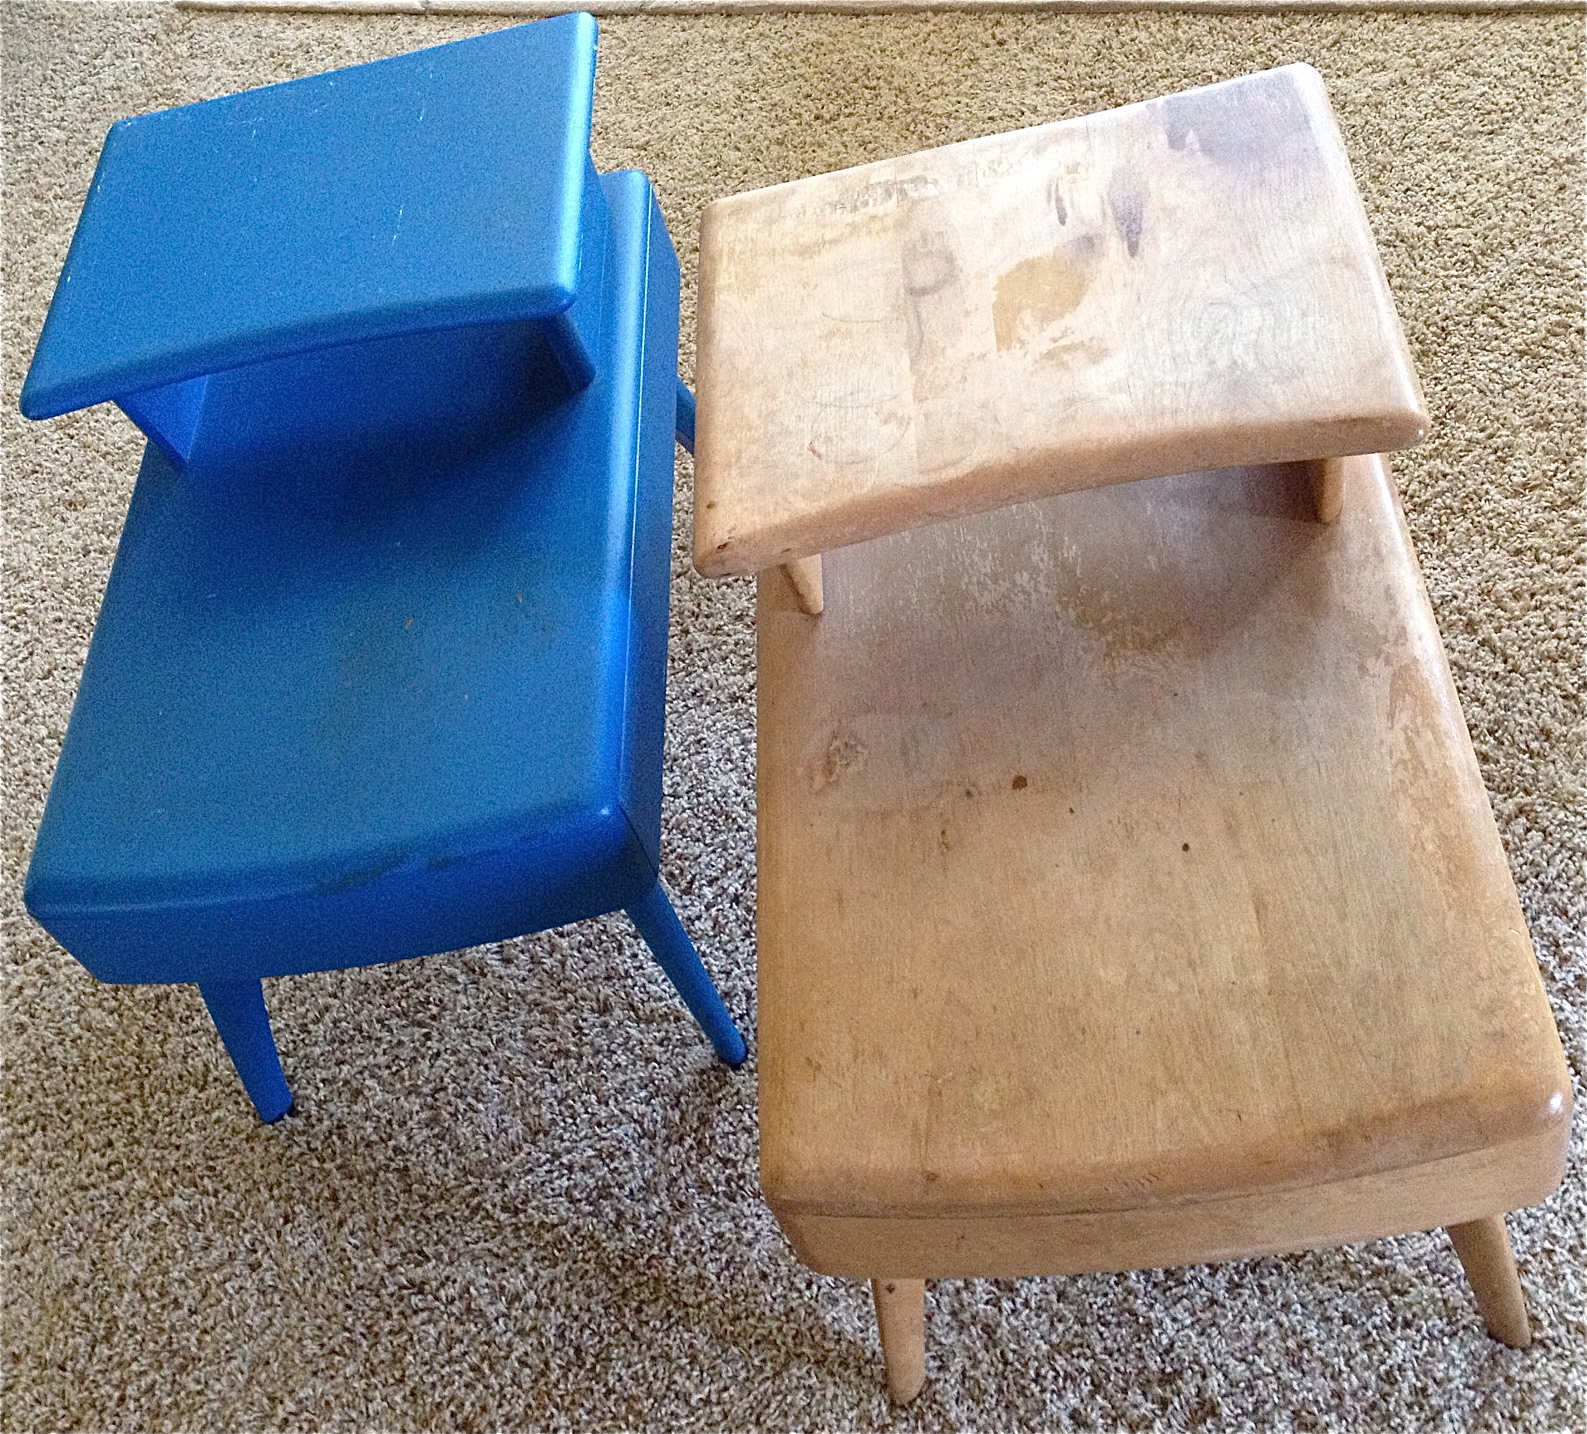
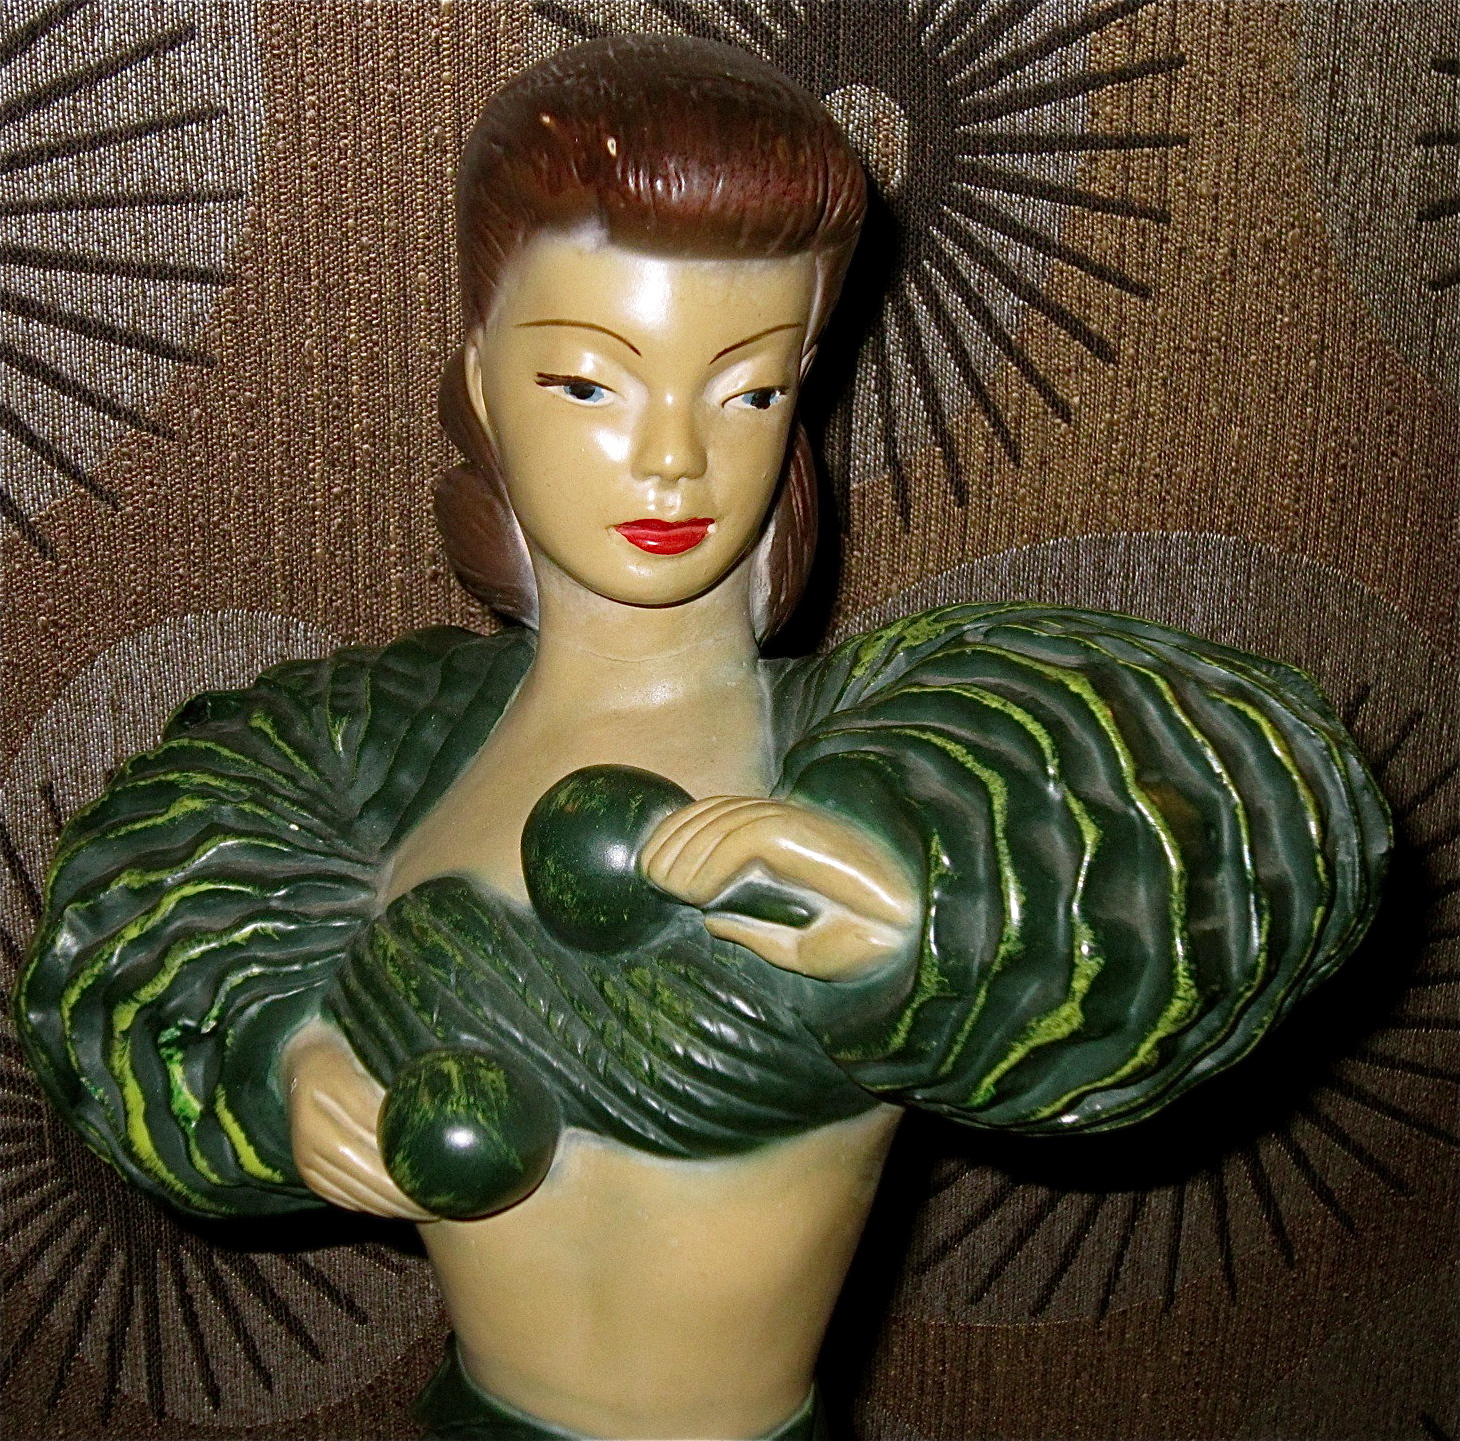
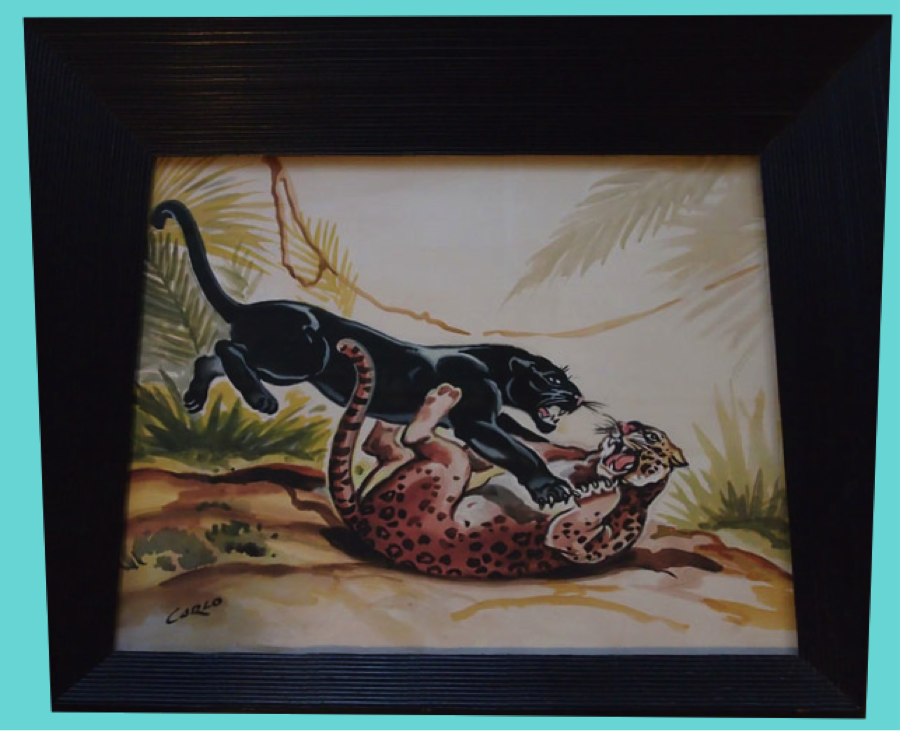
The first set of Carlo watercolors I want to cover are a pair we received a couple of weeks ago. They are fantastic except for many small spots of mold/mildew. This usually occurs when they are in a damp place and the spots are a real bugger to get off if you can remove them at all.

IMG_4754

Here is what I had to deal with. This mold was everywhere!

I tried many ways to remove the spots but they were not going anywhere. I couldn’t see just letting these Carlo watercolors stay this way so I went to work restoring them. I am hesitant to recommend that people restore Carlo watercolors because you have to understand how to paint and what finishes work. Please do not attempt unless you have some artist abilities. Anyways, after a few days of work they turned out better than new. They really pop now and I am pleased with the outcome. It is never my desire to repaint any art, but it isn’t worth a lot when it is ravaged by mold. I will always restore as opposed to throwing it away.

IMG_4772

IMG_4773

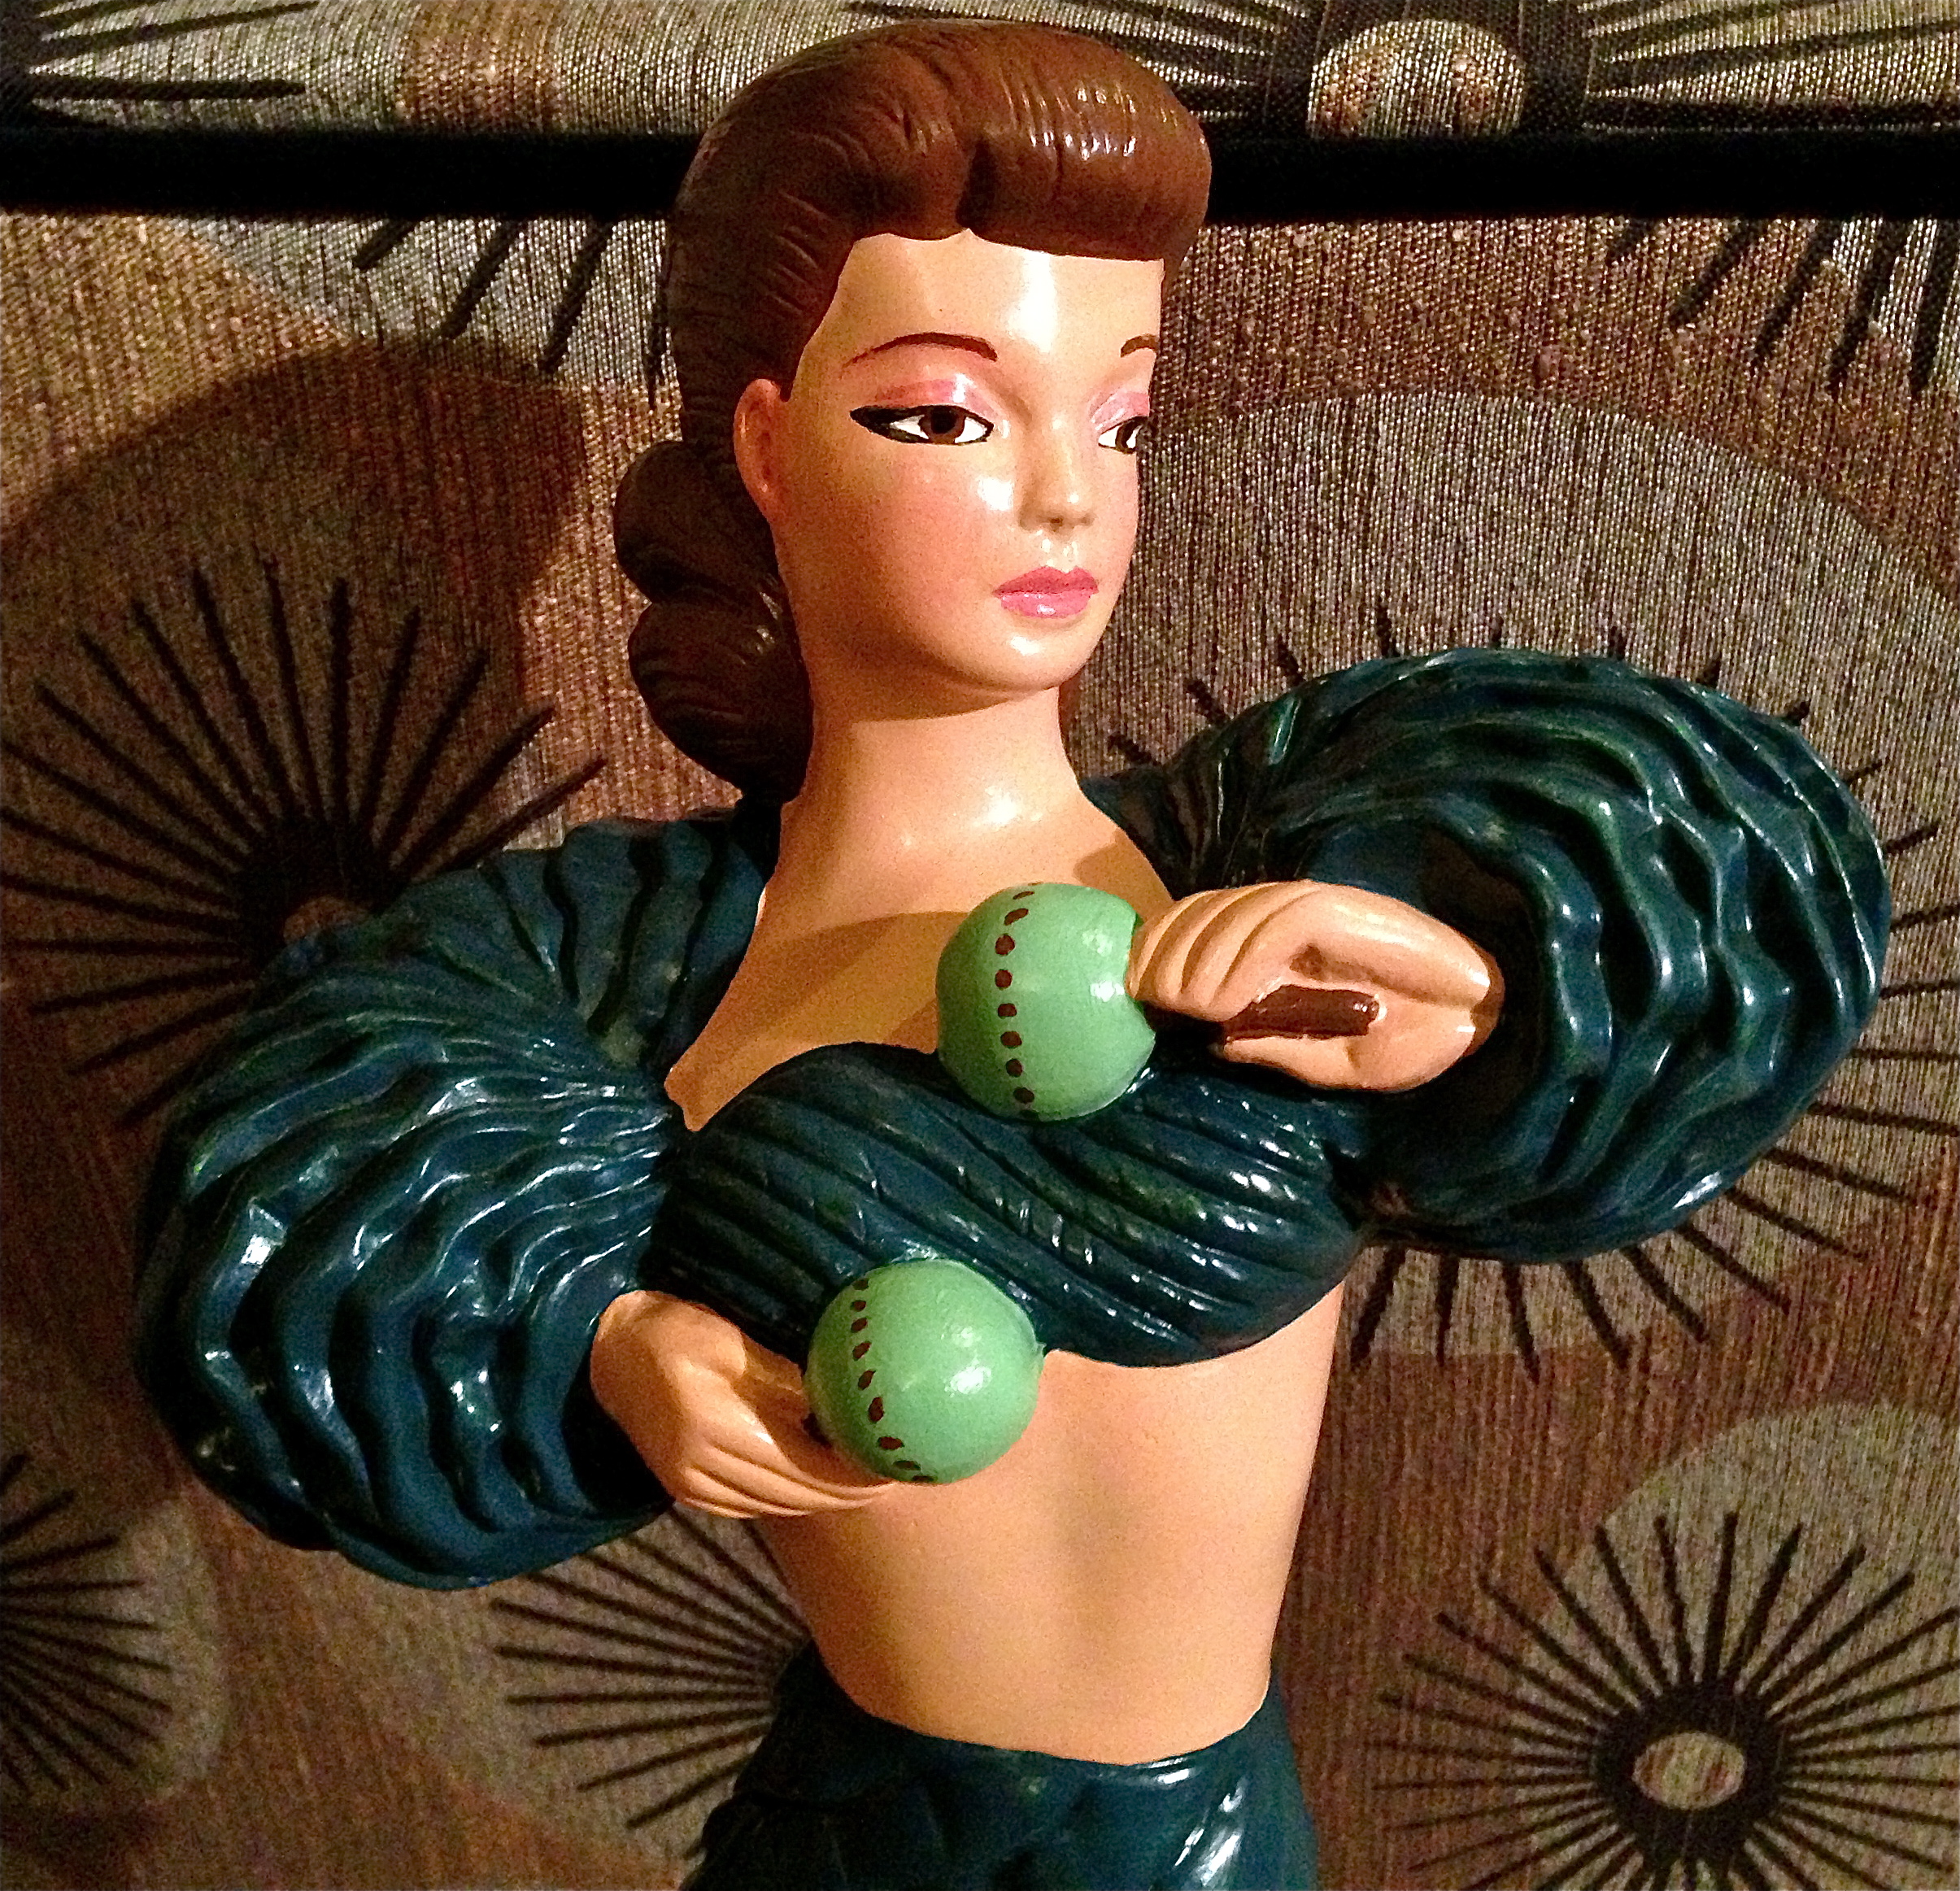
They will look great next to our Reglor Bullfighter Lamps!

_________________________________________________________________________________________________________

IMG_4835

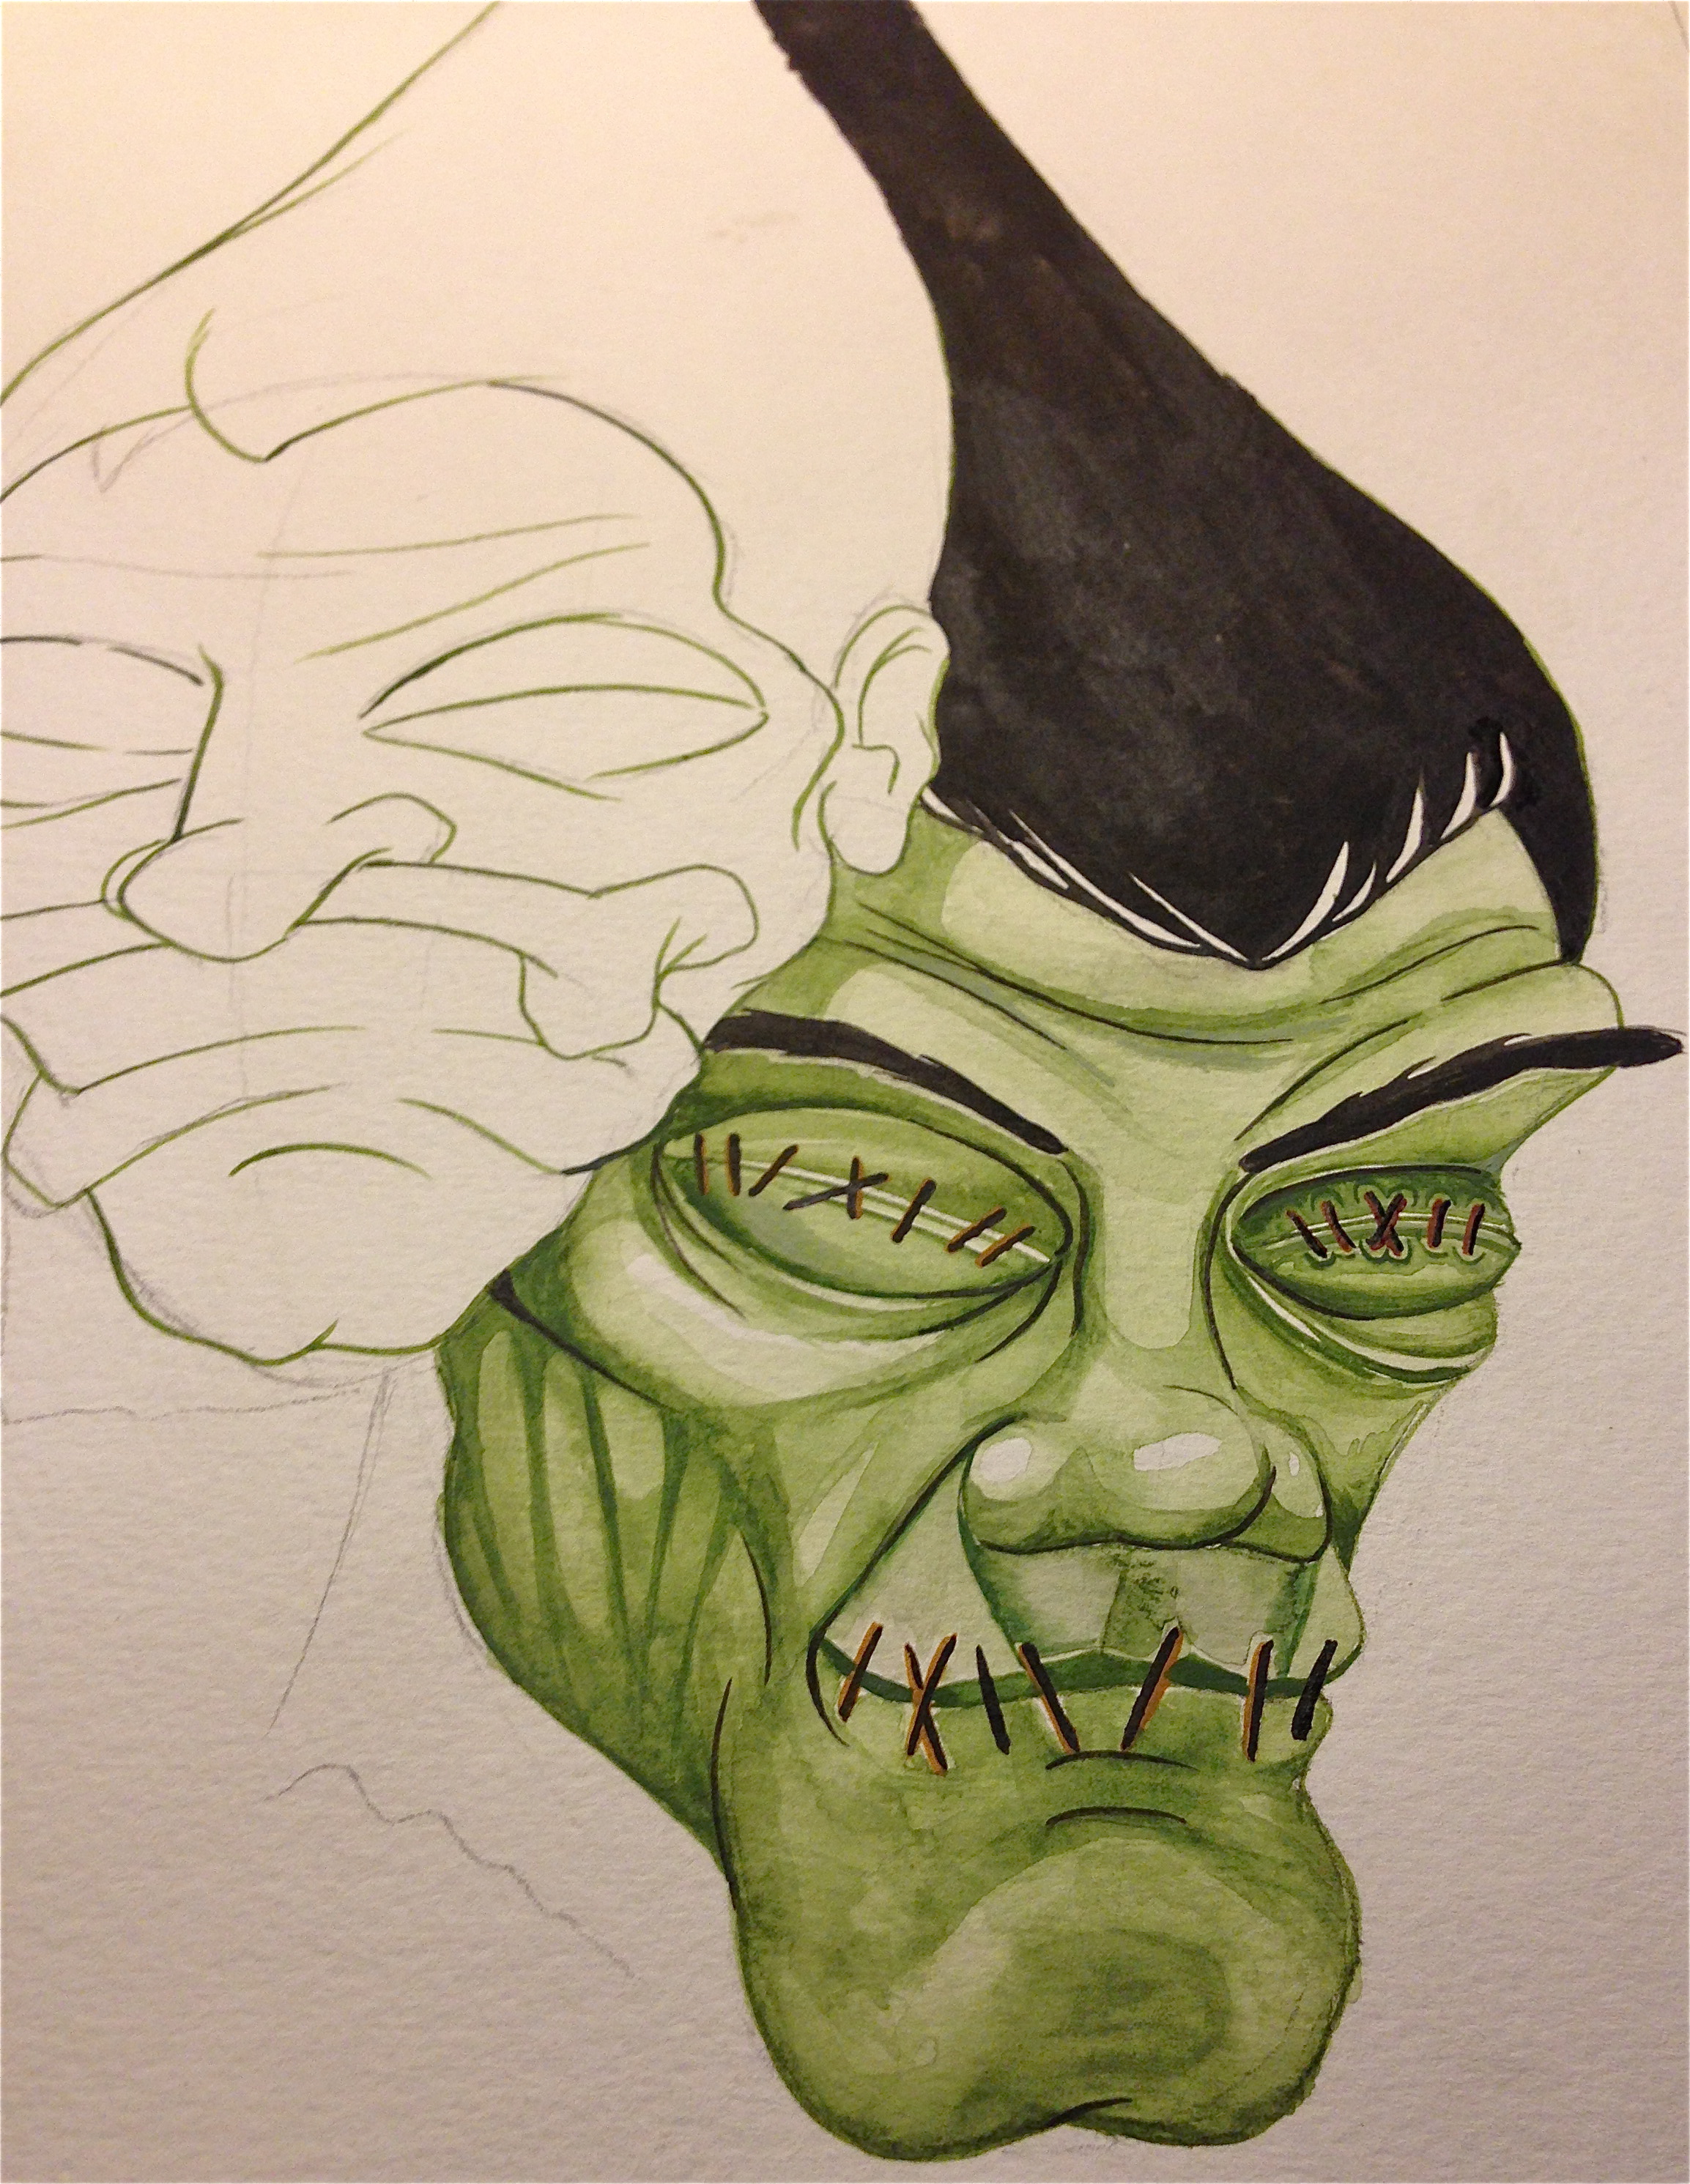
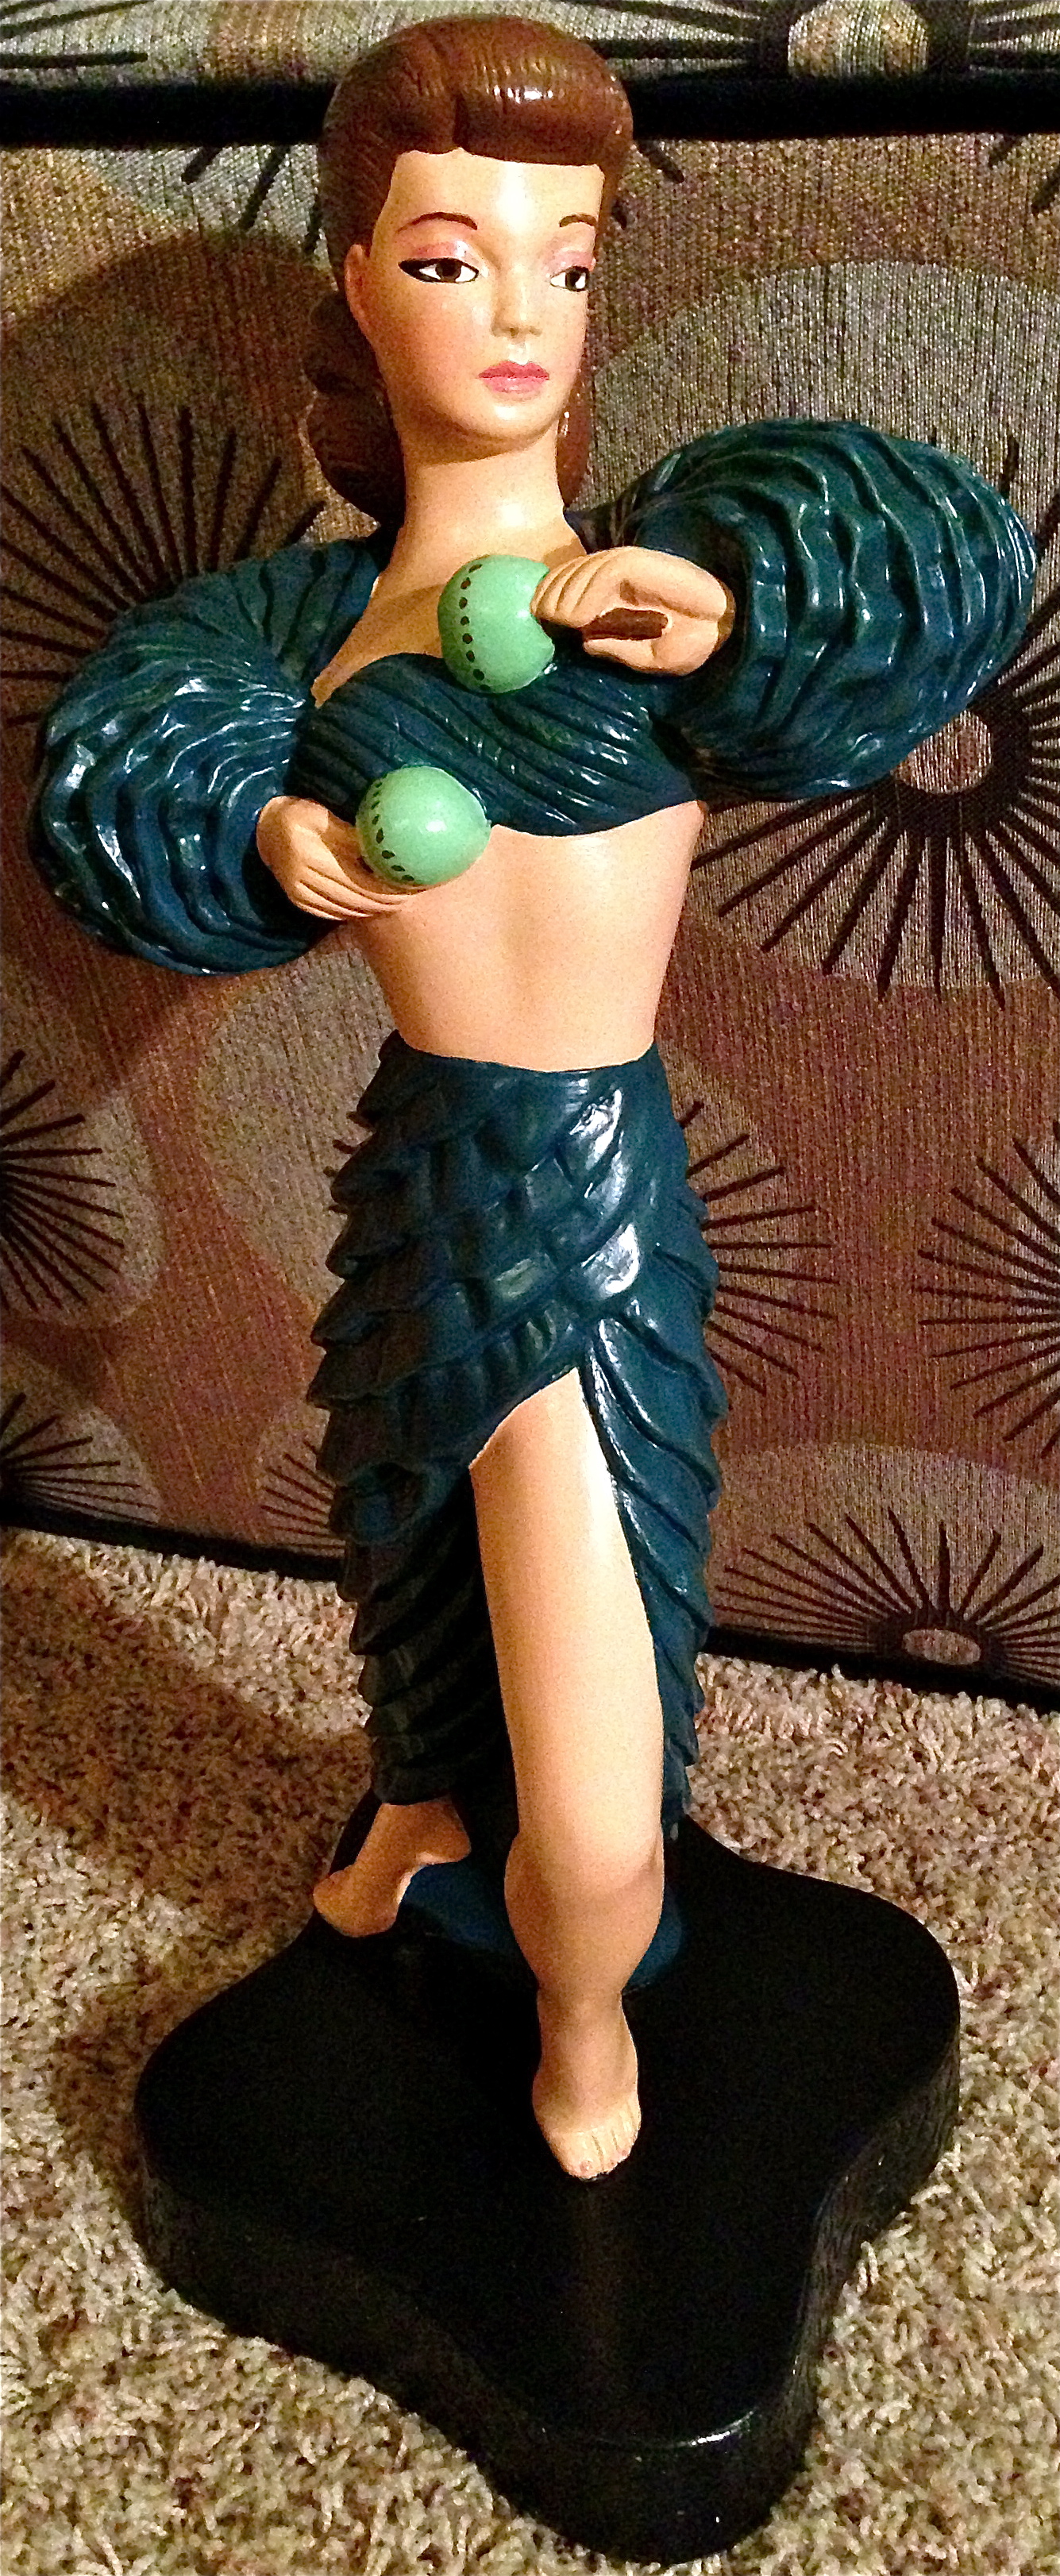
As you can see these have no color except on the edge of the art that reveals some of the original colors. I use this edge color as a reference.

IMG_4842

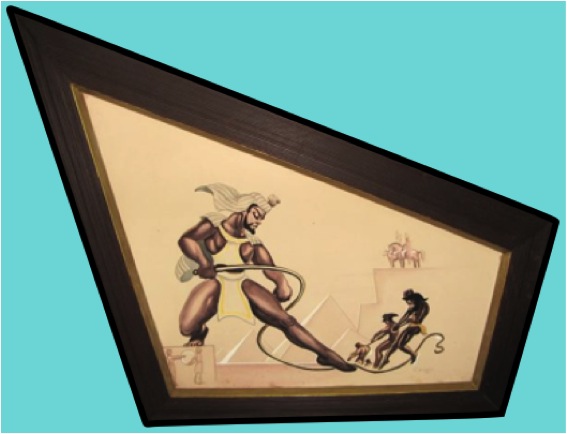
The only color left on this piece is her dress!

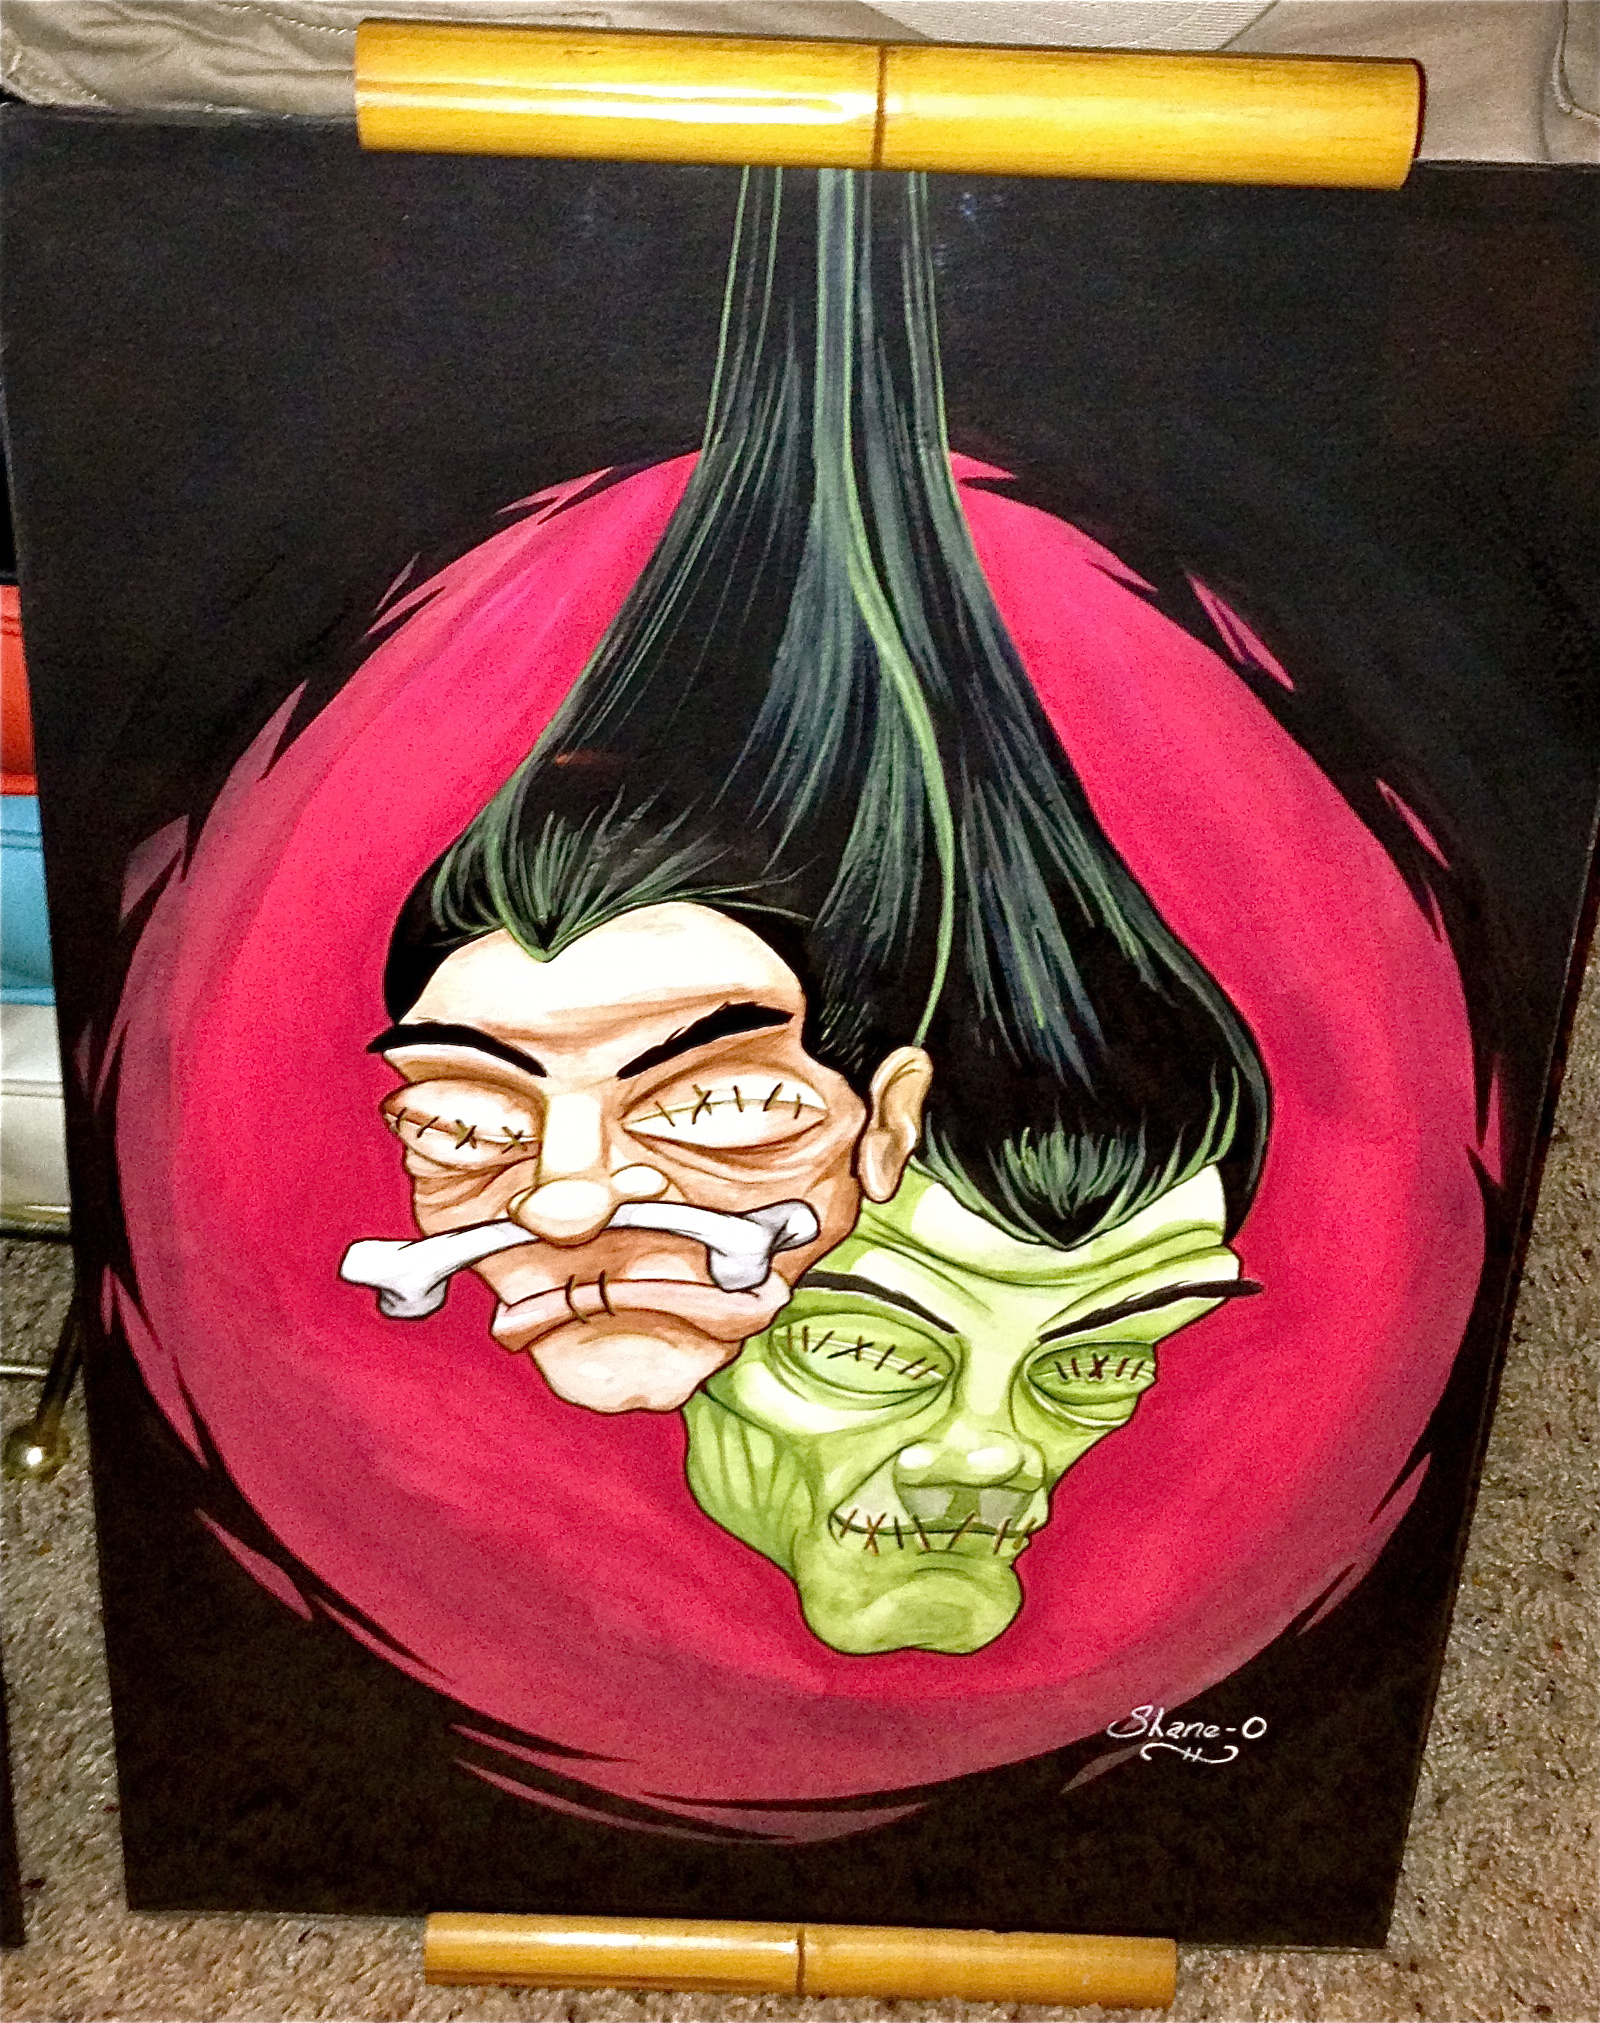
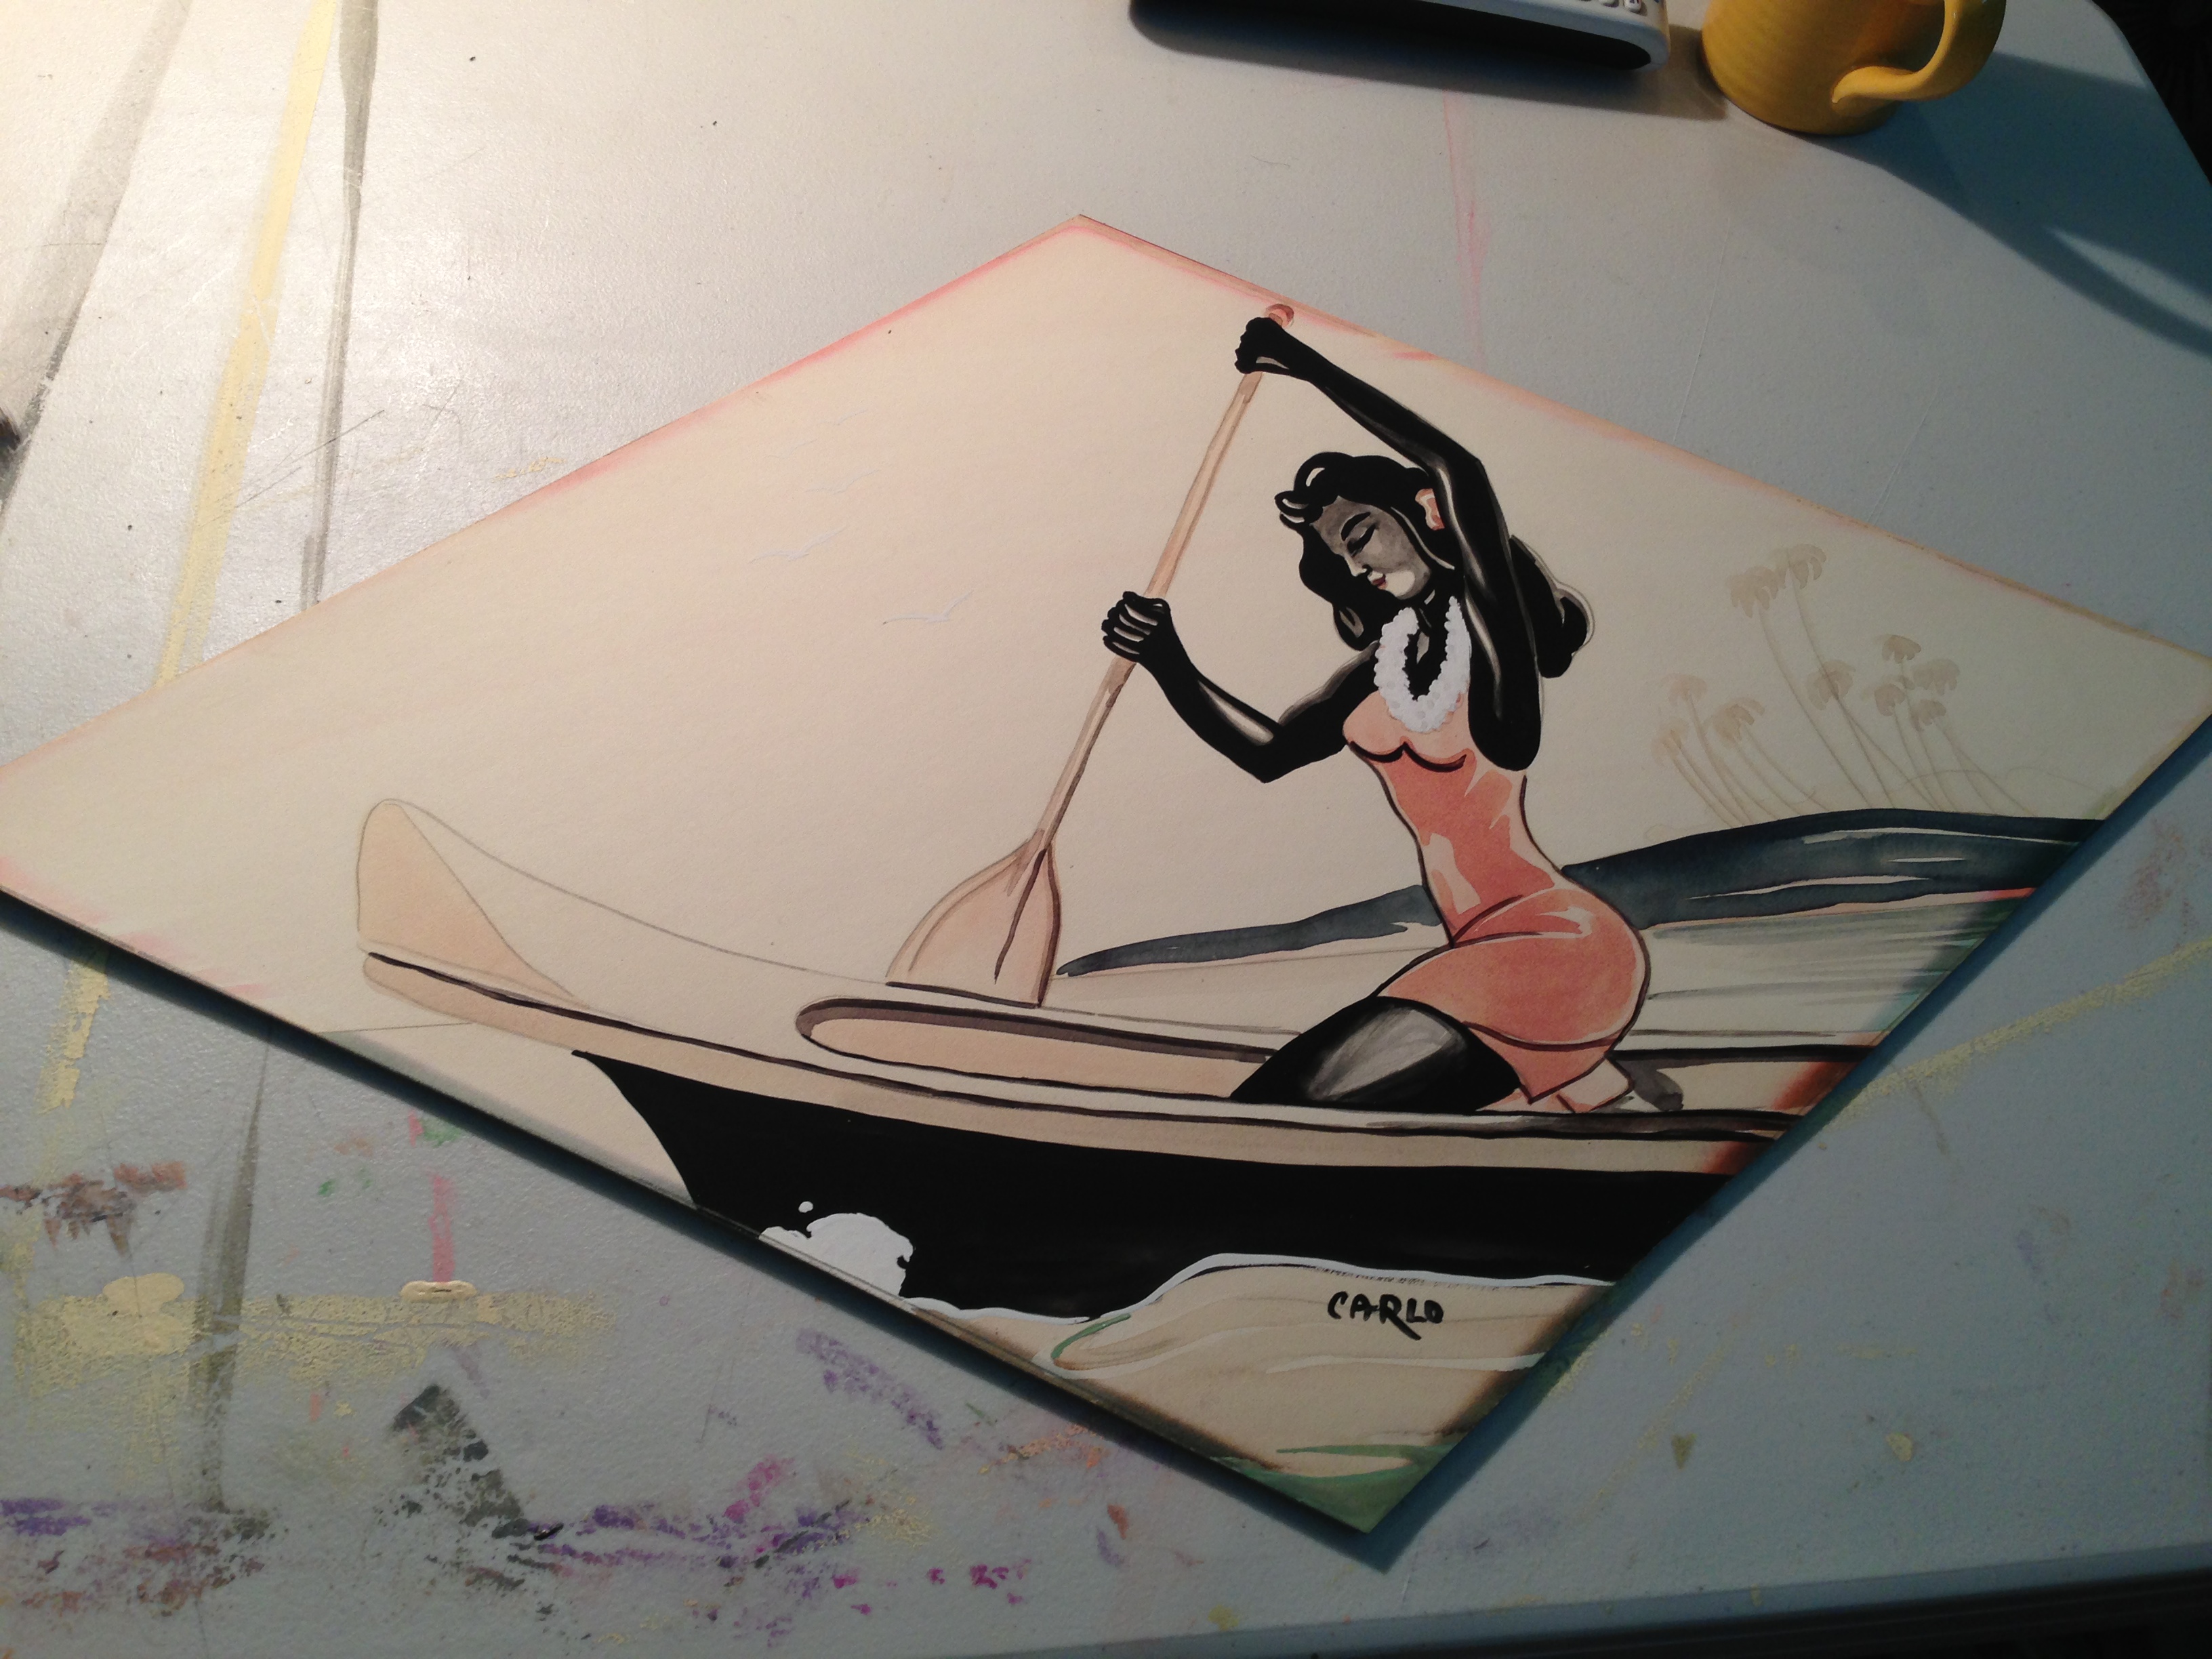
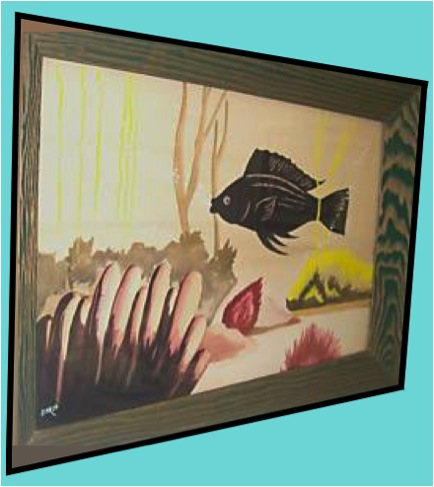
The next set of Carlo watercolors I restored were a tropical pair we received that had no color, just the black & pink watercolor paint. This fading is mainly caused from exposure to prolonged sunlight. It is soooo important to make sure you know where the Carlo is hanging in regards to direct light. I have started putting 99% UV protection glass on my art to prevent further fading. Here are the above pieces restored:

IMG_4844

I love the way these turned out! They look great in our Tiki room!

I don’t know if I would be able to tell that these were restored. I try to keep the same color palette that appears on the edge of the art. Sometimes I have to take liberties with the painting because there is not always a reference to pull from.

IMG_4845

IMG_4846

These make me want to board a jet plane and swing over to the islands….Aloha!

_________________________________________________________________________________________________________

IMG_4912

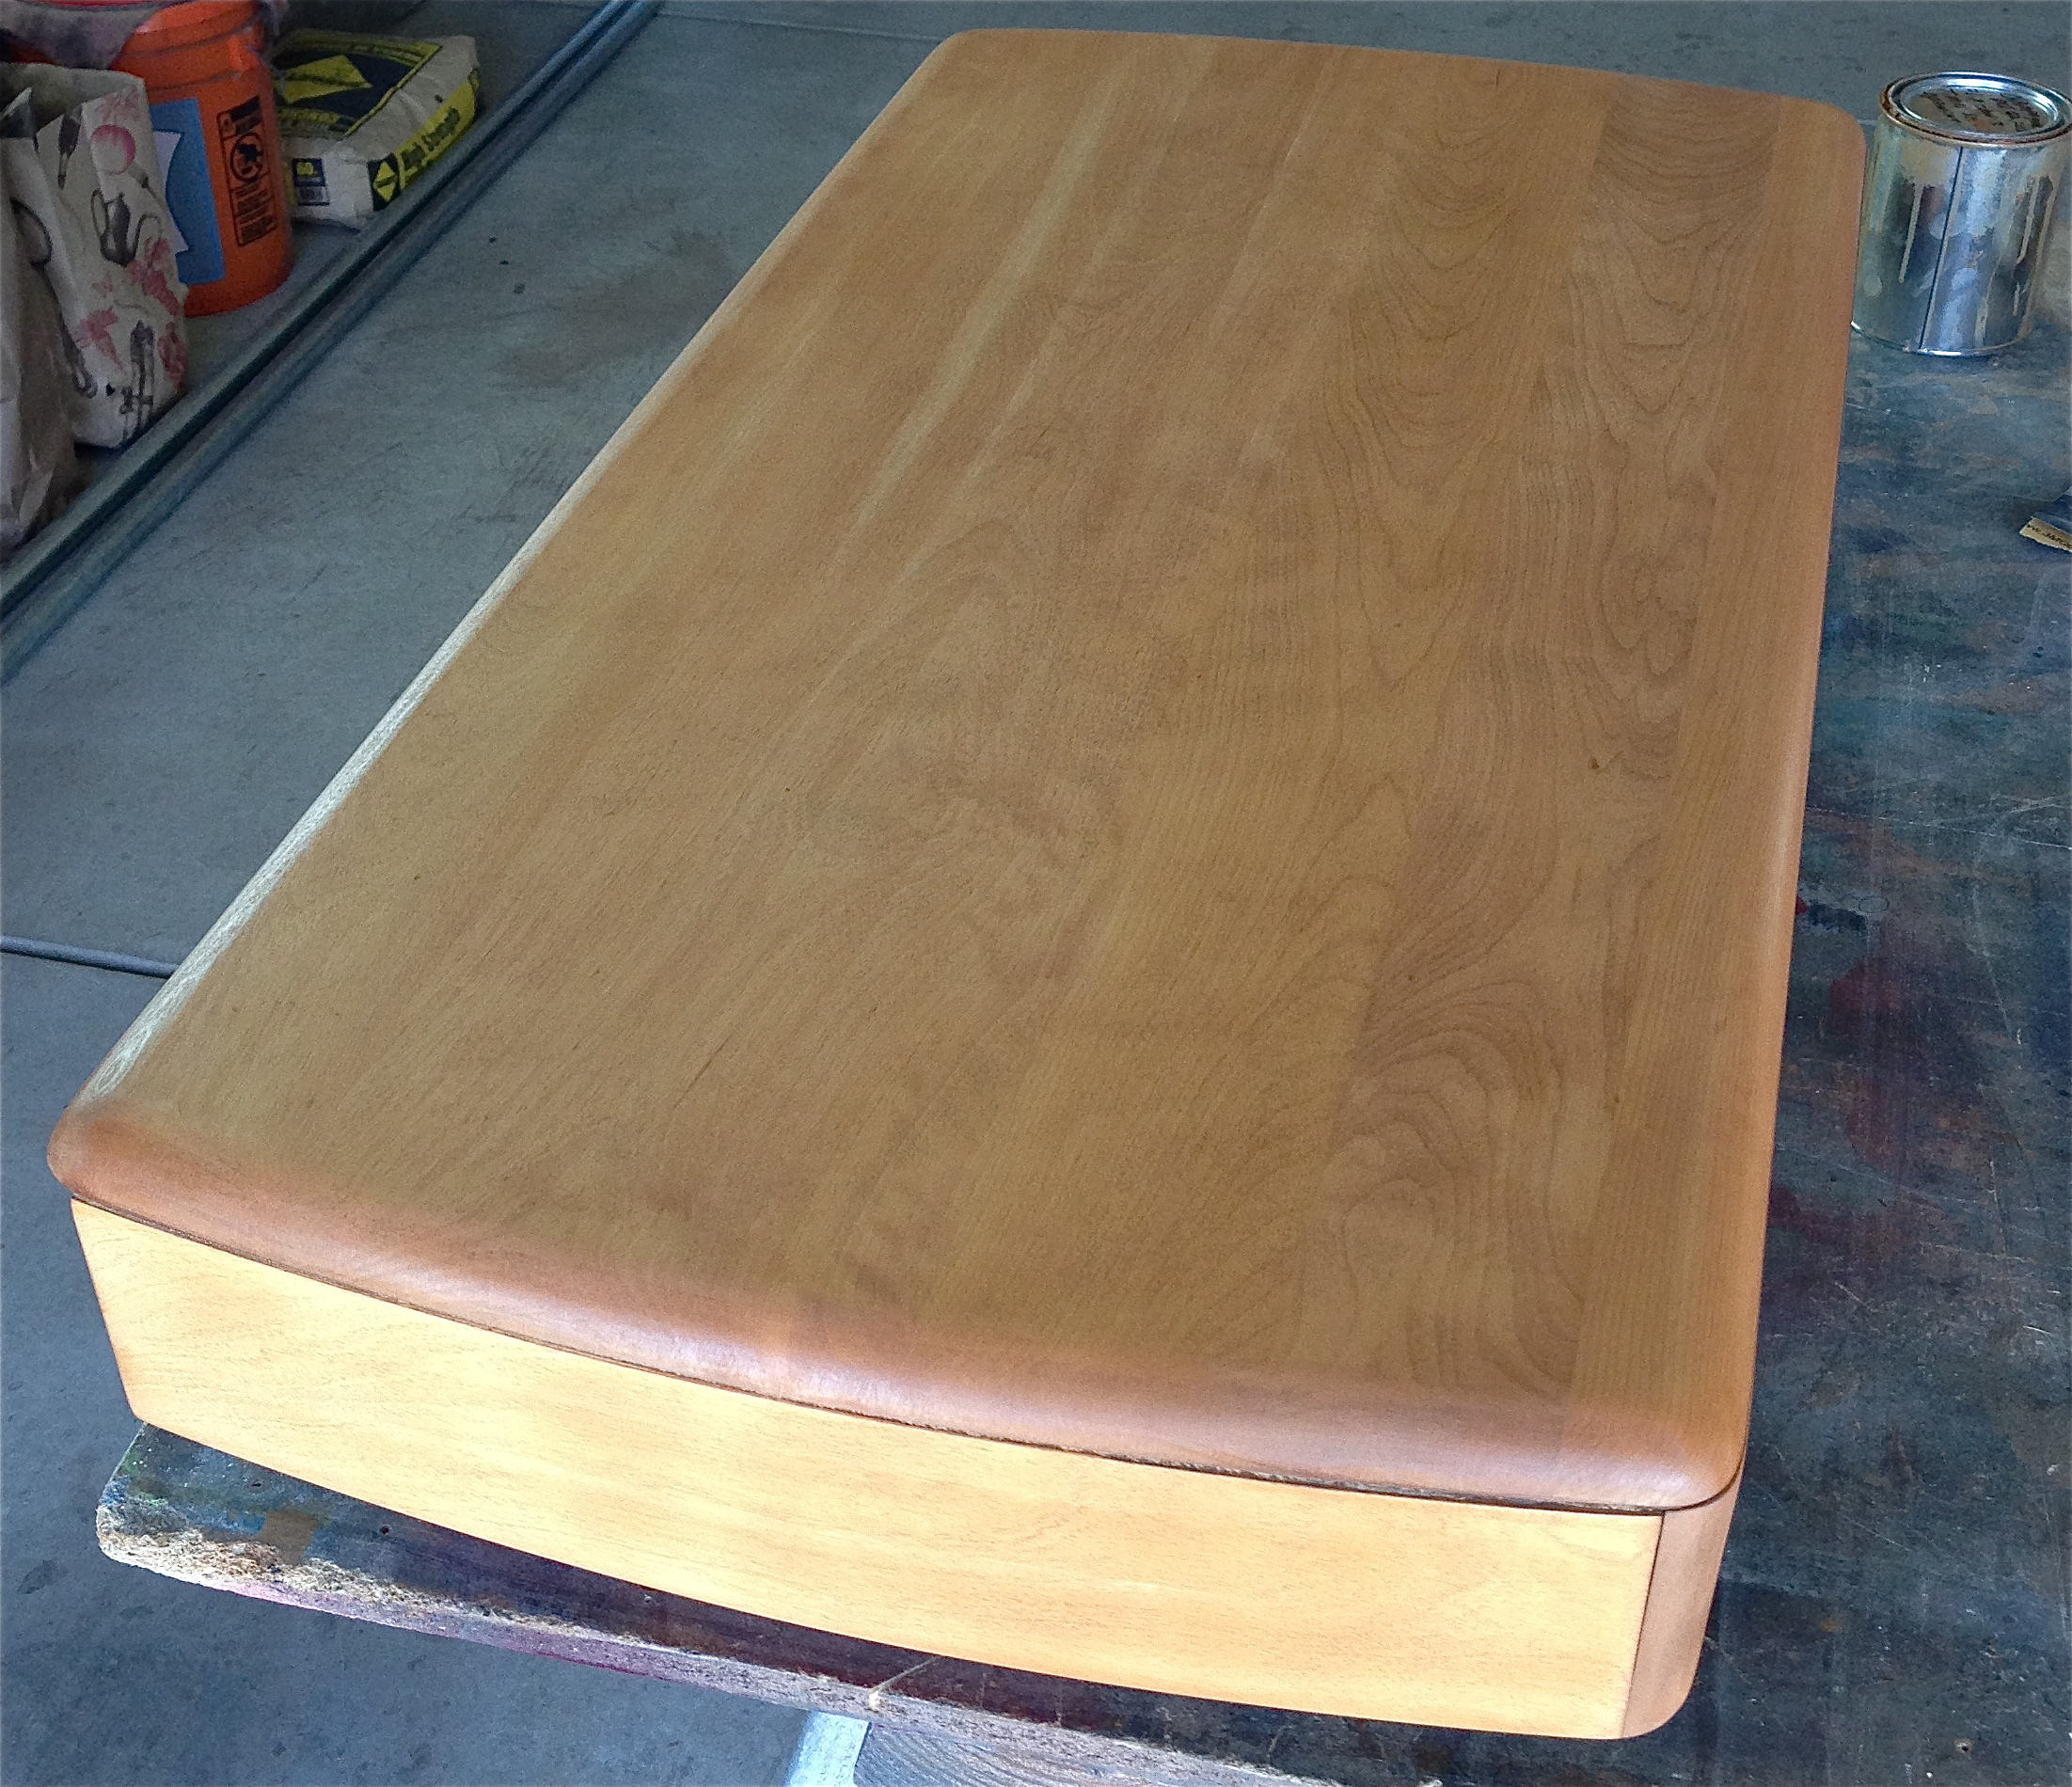
The third and final Carlo I wanted to restore was this one we purchased off Ebay that had no color left and had some mild water damage. This one sat on Ebay for a while because of the damage and the extreme fading that had occurred. After a couple of days of work here is the result:

I think this turned out great considering what we started with.

1951 Continental Art Company Statue Restoration

IMG_4789

Mel and I purchased this awhile back from Ebay and as is the norm it arrived damaged. Fortunately I was able to repair it and it turned out great!

IMG_4790

As you can see the only damage suffered was to the base. I had never seen a statue made by Continental art Company, usually they make lamps.

IMG_4786

I love the way it turned out! After the usual repair process and paint it looks great. I even took some liberties with its detail work.

IMG_4822

I bet they made a male counterpart so I guess I will have to keep my eyes peeled for him.

IMG_4821

Large Egyptian Carlo of Hollywood

IMG_1655

Our friend Stephen had this Carlo and we traded some work for it. I really like the image of the Sphinx in the background. This is our first Egyptian Carlo and hope to acquire the others as well. Stephen has many great items for sale on Ebay so if you are looking for some great items check out his store! The great thing about this Carlo is I didn’t have to do anything to it! Yay for me!

Heywood Wakefield Vanity Stool and Queen Bed Resto

IMG_1647

It is all done, that’s right the bedroom set is finally complete. I refinished the stool base and dropped it off to Bill at B&T Upholstery with some really cool retro frieze fabric Mel and I picked up on Ebay.

Rio Revolving Pouffe, 3797, (Pic9)

Here it is before its transformation

IMG_1661

B&T Upholstery did another great job!

IMG_1639

It looks great!

As I mentioned in the title above I managed to refinish the Queen size headboard and foot board for our bed in the Heywood Wakefield champagne finish. I am trying to sell our other bed so I can put this bed up. Here are some pics of its resto:

IMG_1618

The finish on this bed frame was not in the best shape so that I why I refinished it. This is a dog bone bed frame by Heywood Wakefield. I prefer it more than the Rio style bed frame.

IMG_1620

Here is the frame all sanded down. I have refinished a lot of HW pieces but the old finish on this bed frame was on there like glue!

IMG_1624

Here is the foot board after the first staining. It is amazing to watch the transformation between the coats. I put a total of 4 coats to achieve the final finish. Remember to check out Jeff on Ebay to pick up your stain, it is an easy process to refinish any piece.

IMG_1674

As usual the finish is buttery and sooo rich looking. I can not wait for our current bed to sell so I can throw this one up!